Lead flashing offers a great way to create a long-lasting, weathertight seal between joints on roof valleys and walls or around chimneys and pipes.
Now:
When working on most of these areas, you would typically cut, fit and fix what’s known as stepped flashing.
But what if you want to fit lead flashing into a rendered wall?
Here, things are somewhat different, as you would use straight lead flashing instead of stepped flashing.
With that in mind:
Read on to find out how to install lead flashing on a rendered wall.

Table of contents:
- Should the rendering or lead flashing come first?
- Fitting lead flashing to rendered wall
- The bottom line
Should the rendering or lead flashing come first?
If you’re looking to install lead flashing and render a brick wall, you’re probably wondering which one should come first.
When working with a wall that’s already been rendered, the issue is obviously moot. So, simply move on to the next section, which details how to install lead flashing into a rendered wall.
But what if that’s not the case?
Here’s the scoop:
Yes, it’s possible to render over lead flashing, and many professionals would suggest going down that route. The rationale here is that if your leadwork goes over the render and the render cracks, water might seep in behind the flashing.
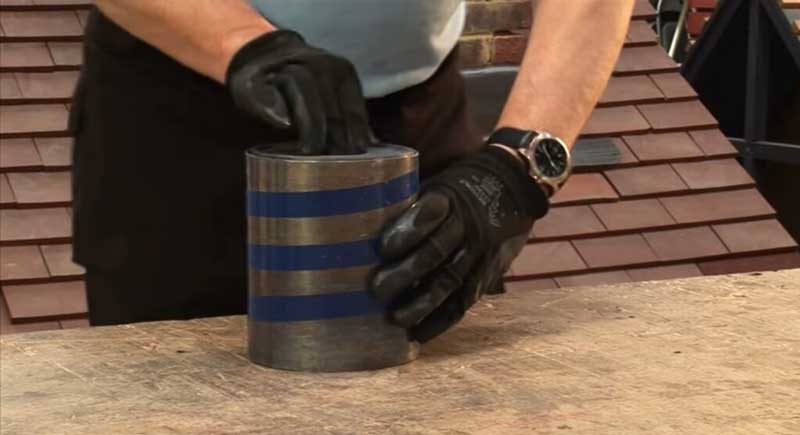
Start by cutting the lead flashing into lengths of no more than 1.5 metres – anything longer than that, and the lead will be harder to work with and might split over time. Each sheet should overlap the previous one by around 100mm to prevent leaking.
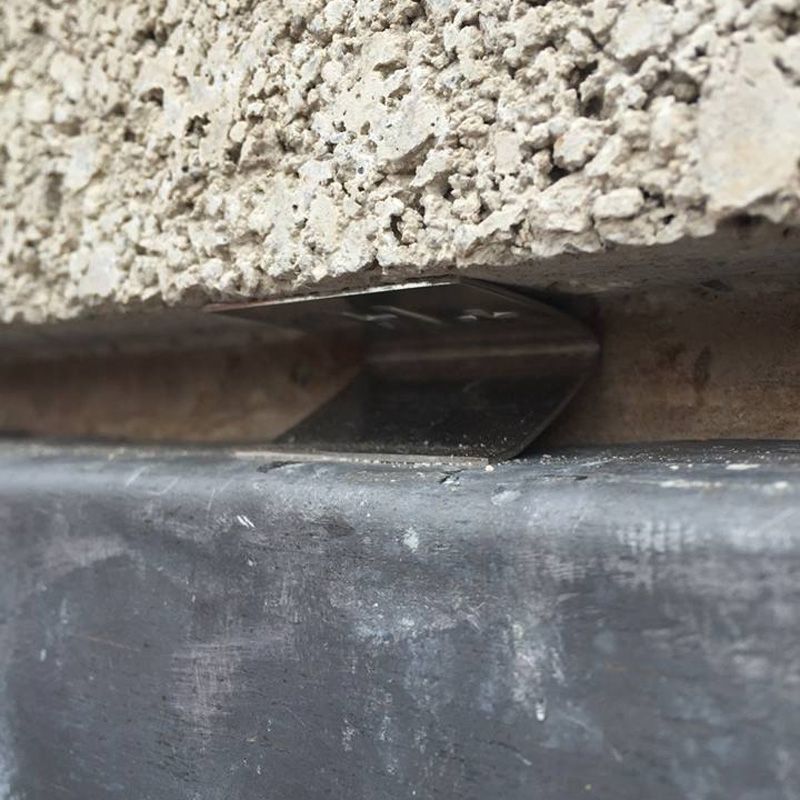
Then, grind out a straight chase into the brickwork mortar joint and carefully push the lead all the way in. Work the lead so that it’s as tight to the wall as possible. Then, apply sealant.
Next:
Attach a render bead on top of the lead as per the manufacturer’s instructions, making sure it covers at least 15mm of lead.
Finally, proceed to render to the bead, and you’re good to go.
But what if your wall is already rendered in the first place?
Don’t go anywhere. That’s exactly what we’re going to zoom in on next.
Fitting lead flashing to rendered wall
As you would when installing the flashing before rendering over it, use straight rather than stepped flashing when fitting lead flashing to rendered walls.
In fact, the process is quite similar.
Start by cutting the lead into sheets of no more than 1.5 metres in length.
Next:
Cut out a chase and carefully push the lead all the way in, observing a 100mm overlap with each previous sheet. Use your lead bossing mallet to ensure the sheets are as close to the rendered wall as possible.
Moving on:
Install fixings or hall clips across the entire length. You can even go old school and use small rolled-up pieces of scrap lead.
Whichever option you choose, make sure that these go in at intervals of roughly 450mm.
At this point, it’s time to secure the chase by applying a thick bead of lead sealant. Make sure you push the sealant all the way into the chase before wiping off any excess.
Finally, apply patination oil to the lead flashing. This will give it a nice lustre and prevent the formation of ugly stains over time.
That’s it – you’re all set!
The bottom line
Installing lead flashing into a rendered wall is a good way to prevent leaks.
What’s more:
If your brick wall hasn’t been rendered yet, you have quite a bit of leeway. In that case, you can go flash first, render second or reverse the order.
But even if you’re working with a wall that’s already been rendered, there’s no need to stress.
Remember to use straight flashing rather than stepped flashing, check out our Lead flashing code guide, and you’ve got this covered!
Was this guide useful?
Mentioned in this project guide: