
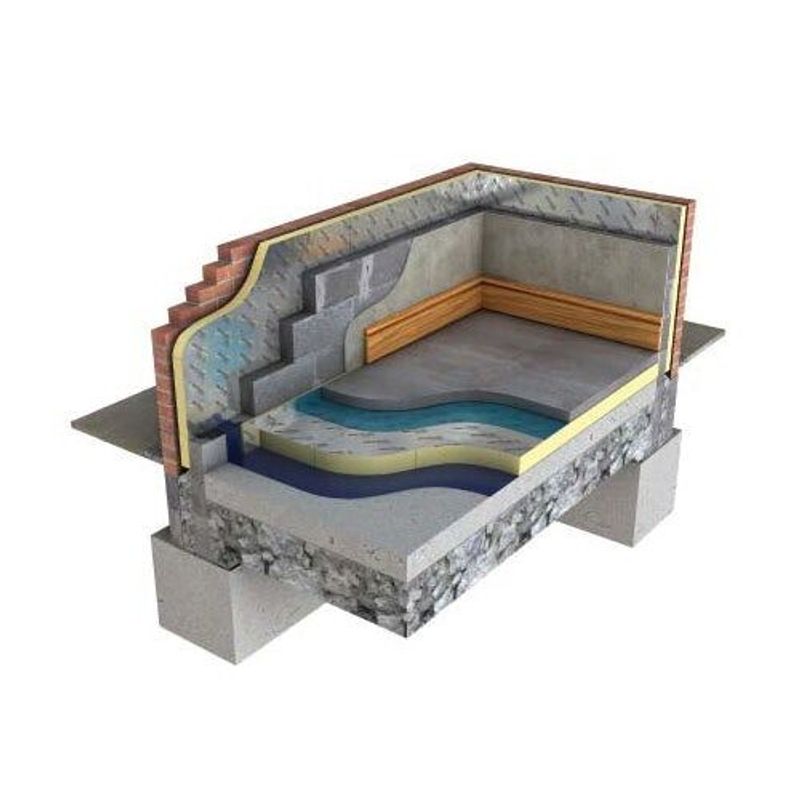
Insulation boards are a great way to insulate your home from the inside and avoid condensation and cold spots on your walls.
They’re affordable, they come with a high thermal performance and they’re suitable for use in a wide range of domestic applications.
And if you’ve decided to go down that road, you’re probably wondering:
How do you install insulation boards?
At Roofing Superstore, we’re here to help!
To this end, we’ve put together a comprehensive, step-by-step guide on how to install an insulation board in two ways!
Read on to find out more about fixing an insulation board by yourself.
Table of contents:
- Things to consider before you start
- How to install insulation board using the dot and dab method
- How do you attach insulation board to a wall with mechanical fixings?
- Installing insulation board with confidence
Things to consider before you start
The two main methods of installing insulation sheets for walls is with adhesive bonding (also known as the dot and dab method) and with mechanical fixings.
It’s ultimately up to you to decide which method to use depending on what types of walls you have.
But before you start, there are a few things you need to consider.
Here’s the scoop:
First, you need to fully research which insulation is the right choice for you. Brands like Celotex, Kingspan and Recticel all offer plenty of excellent options. The main thing here is to understand the board thickness you’ll need to achieve the necessary U-values.
This is absolutely crucial, so take your time and don’t rush.
Second, you must ensure that you’re fully compliant with Building Regulations. If you’re planning on insulating more than half of the walls in a room, you’ll need Building Regulations approval.
Once you’ve taken care of the preliminaries and decided on your preferred method, you’re good to go!
How to install insulation board using the dot and dab method
When using dot and dab, there’s no need for any battens. That’s why many DIYers prefer to go down that route.
If that includes you, here are the tools you’re going to need:
- Rigid insulation boards
- Adhesive
- Trowel
- Bonding agent
- Universal saw
- Drill
- Dust mask
- Safety goggles
- Measuring tape
Once you’ve assembled everything, simply follow these steps.
Step 1: Clear the wall
Remove any wallpaper, gloss paint and skirting from the wall. Make sure the surface is clean and free of dust, debris and loose material.
Step 2: Remove the render
Take the render off and clean the dust. There’s going to be a lot of it, so don’t forget to wear your dust mask while you’re doing this!
Make sure the wall is completely dry; if you feel any dampness, you should identify the source and carry out appropriate repairs before moving on.
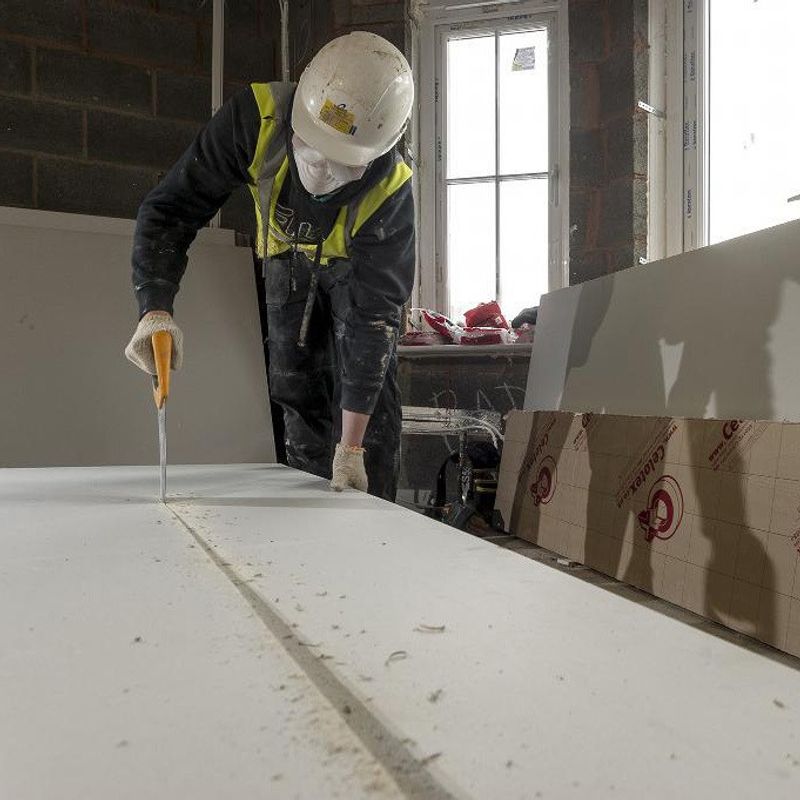
Step 3: Cut the boards
Measure the size of your walls and cut each insulation wall board to the right size with the universal saw, making sure you leave a 15mm gap at the bottom. It’s a good idea to place them against the wall to make sure they fit.
Step 4: Apply a coat of bonding agent to the wall surface
This step is optional, but many manufacturers like Kingspan recommend that you apply a single coat of diluted bonding agent to the wall surface. It’s a good idea to take this advice, especially if the brickwork is still rather dusty.
Step 5: Apply bonding agent to the back of each board
Carefully apply an undiluted bonding agent to the back of each board in 15mm bands around the perimeter and down the middle.
Step 6: Prepare the adhesive
Mix the adhesive to the desired consistency, making sure you follow the manufacturer’s instructions.
Step 7: Apply adhesive to the wall
Apply 10-25mm thick dabs of adhesive to the perimeter of the wall and around any openings and penetrations. This measure has the benefit of supporting the edges while also acting as a fire stop. The dabs should be around 50-75mm wide and 250mm long.
Pro tip: At least 20% of each board needs to be covered with adhesive.
Step 8: Fit the boards
Carefully fit each board into position and push it firmly into place. This is a lot easier if you have someone to help you out.
Next:
Step 9: Install fixings
Again, this tends to vary from manufacturer to manufacturer, so make sure you read the instructions carefully. If required, apply the quoted number of mechanical fixings (usually six per board). This will prevent the boards from falling off the wall in the event of a fire breaking out.
Step 10: Seal the gap at the bottom
Remember that 15mm gap we asked you to leave at the bottom of the wall?
Now, it’s time to seal it with flexible polyurethane foam and flexible sealant in order to prevent thermal bridging and heat loss.
That’s that! You’re ready to enjoy your new insulation.
How do you attach insulation board to a wall with mechanical fixings?
Depending on the type of wall you’ve got, you might decide you’re better off with mechanical fixings insulation installation rather than dot and dab.
If that’s the case, here’s what you’ll need before you can proceed:
- Insulation boards
- Timber battens
- Dust mask
- Safety goggles
- Tape measure
- Universal saw
- Damp proof course (DPC)
- Wood screws
- Wall plugs
- Drywall screws
- Drill
Now, follow these steps.
Step 1: Prepare the wall
Remove any wallpaper and fittings. Then, take off the render and make sure your walls are clean and dry as you would when using adhesive bonding. It’s the exact same sequence, so we won’t go into too much detail.
Step 2: Prepare the insulation boards
Measure the walls and cut the boards to the right size with your saw. Leave approximately a 10mm gap at the top and a similar one at the bottom.
Step 4: Apply flexible sealant
Apply flexible sealant to the entire perimeter of the wall as well as around any openings such as doors and windows.
Step 5: Fit the timber battens
This is how to batten a wall for insulation:
First, measure the wall and indicate the timber battens’ position.
Second, attach 100mm strips of DPC to the back of each batten to prevent rising damp later on.
Third, fix the battens with wood screws and wall plugs by drilling through the timber and into the brick wall. Fixings should go around 45mm into the wall.
This is important:
Vertical battens should be placed around 600mm apart, while horizontal ones need to go at the top and bottom and around any openings.
Step 6: Fit the insulation boards
Place the boards into position and secure them with drywall screws at 300mm centres (200mm centres around doors and windows).
Keep in mind that the screws must go at least 25mm into the timber battens but not penetrate the wall.
Step 7: Seal the gaps
Finally, seal the gaps at the top and bottom with polyurethane foam and flexible sealant just as you would at the very end of the dot and dab method.
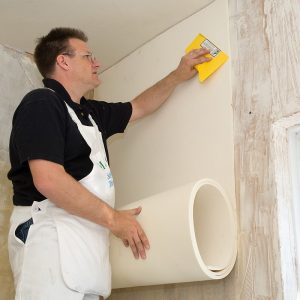
And now, you can move on to decorating your wall!
Installing insulation board with confidence
Some roofing professionals would argue that insulation board installation is best left to them.
And if you’re not sure of your skills or don’t have the time to spare, you can definitely give them a call.
Having said that:
We would suggest that seasoned DIYers are more than capable of fixing insulation board by themselves.
Granted, you’ll need to do your research, secure Board Regulation approval and acquire a few tools. But other than that, the process doesn’t involve anything particularly mystical or difficult.
And now that you know how to fit insulation board to walls, not one but two ways, you’re well prepared to take on the task of insulating your home and reaping the benefits.

Was this guide useful?
Mentioned in this project guide:


