
At Roofing Superstore we have a number of dry verge products to choose from. There are a number of different dry verge systems that can be used to create a durable and weatherproof verge on your latest roofing project. But what is a dry verge and why would your roof benefit from one? Read on to find out more about why dry verges are so beneficial, and how to install a dry verge on your roof.

Table of contents:
What is a verge?
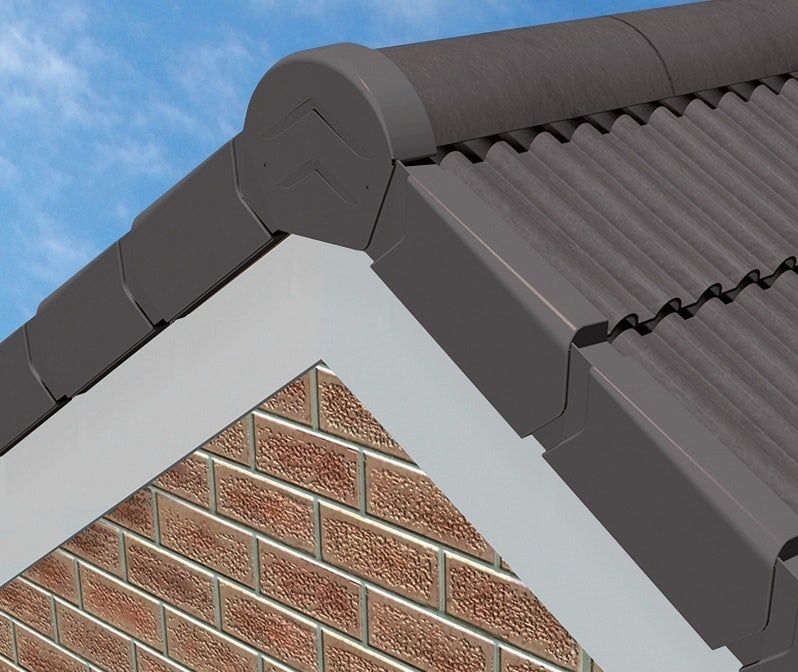
A roof verge is the part of the roof where the tiles end, where the roof meets the gable. Traditionally, a roof verge is fixed with mortar to create a waterproof and weatherproof finish.
What is a dry verge?
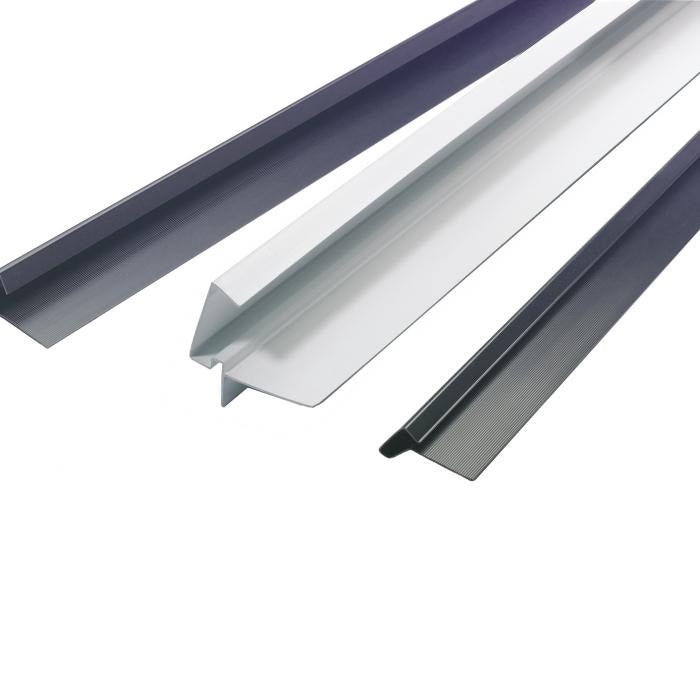
Dry verge systems, or dry-fixing, is a roofing system that involves caps or verges that interlock, clipping over the edge of the roof tiles, protecting the tiles, keeping them secured and preventing water and pests from entering the roof space.
Why opt for a dry verge system?
Traditionally, roof verges, which are outer ends of the roof at gable ends, are fixed with mortar – known as a wet verge. This is done to prevent the ingress of living creatures and water into your roof space. The issue with a wet verge is that mortar is not very durable – thermal movements and expansion can cause cracks within the mortar, and weather can also contribute to the deterioration of mortar over time. This means that wet verge systems require high levels of maintenance, such as repointing, to ensure they are functional.
A dry verge system provides all the protection of a wet verge system but with a number of benefits.

Dry verge systems are typically manufactured from plastic, which provides more durability, and also requires less maintenance. Additionally, plastic dry verges can provide a uniform, clean and attractive finish to your home, which will help increase the potential selling value.
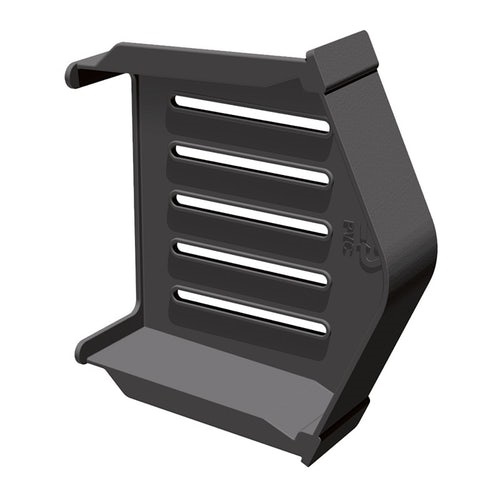
Dry verge systems can be purchased with in-built vents, which allow for ventilation into the roof space. This helps to reduce the potential for damp and mildew to occur in the roof, as well as reducing the amount of warm air and moisture that exists in the roof space.
How to fit a dry verge
The easy installation process is another benefit of dry verge systems. Each dry verge system may have slightly different installation processes due to the varied designs and manufacturers, therefore we’d always recommend following the manufacturer’s instructions. However, we’ve created a quick guide below, to outline the steps required to fit a dry verge.
Step 1:
Install the underlay if required, and ensure all battens extend beyond the gable wall or bargeboard by 20-40mm – they must extend by the same distance to create a straight and even line. If the tiling battens are rotting or showing signs of wear and tear, the alternative is to fix a batten strip along the verge instead.
Step 2:
Fix the batten end clips to the end of each batten. This will create a secure place on which you can fix the verge units.
Step 3:
Fit the eaves closure unit over the first tile. This will prevent the ingress of pests and water into the roof, but also act as a secure unit on which the eaves clips can be fixed.
Step 4:
Fix the eaves closure unit onto the bargeboard using the screws provided. This can also be fixed to the fascia board with the L-shaped clip.
Step 5:
In some cases, the verge units are suitable for both left and right-handed verges – if this is the case, just remove the tab to make the verge suitable for the side you are working on. If not, just ensure you have the correct verge unit for the side you are working on.
Clip the first verge unit over the eaves closure unit, then slide it along until the end lines up with the edge of the roof tile. Once this is done, nail the top of the verge unit into the batten end clip.
Step 6:
Position the second verge unit in the slots of the first one (if the product features slots). If working on a “flex” dry verge system, ply the verge unit open and push it onto the tail of the first verge unit, ensuring the end of the verge lines up with the end of the tail, and nail the top into the batten end clip.
Step 7:
Repeat this process on each side of the gable until you reach the apex of the roof.
Step 8:
Finish the dry verge system with an end cap or block end using the screws provided or the method shown in the manufacturer’s guide.
How much does dry verge cost?
For the refurbishment of an existing roof, it can be hard to decide between repointing mortar or using plastic dry verge caps. Dry verge caps are a little more expensive than repointing generally, but the benefits given are worth the cost. Dry verge caps cost more but they last a lot longer. They are manufactured to be durable and stand the test of high-speed winds, whereas mortar needs regular maintenance and checks to make sure it’s still in place.
For advice or recommendations on dry verge systems and the best products for your project, call our team on 01752 692 760 or use the live chat and they will be more than happy to help.
Was this guide useful?
Mentioned in this project guide:


