A leaky roof is no laughing matter. It has the potential to cause serious structural damage to your home and result in thousands of pounds worth of ruined furniture and other valuable household items.
Without a doubt, your favourite ones.
But how can you tell if you have a roof leak?
It’s not hard:
The tell-tale sign is water stains forming on the ceiling or running down the walls.
See any of those? Then you’re in trouble.
There’s no need to panic, though:
At Roofing Superstore, we’re going to show you how to repair a leaking roof all by yourself as efficiently as a pro.
Let’s dive right in.
Table of contents
- How to find a roof leak
- How to fix a leaking roof
- Leaking roof: what to do before repairs
- How to fix a leaking roof from the inside
- Roof leaks repair cost
- Don’t be afraid of fixing a roof leak
How to find a roof leak

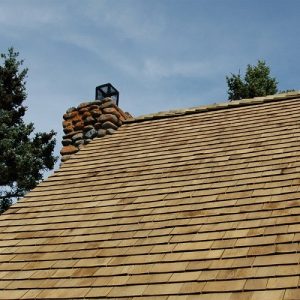
There’s no shortage of factors that can cause roof leaks. The most common ones are a damaged chimney, incorrectly installed or worn-out flashing, clogged gutters, missing shingles or tiles and holes.
The good news is:
Unless the damage is extensive, fixing a leaky roof is a perfectly doable DIY job.
But before you get to it, you must locate the source of the leak. This sounds easy, but it’s actually trickier than you might think. That’s because water doesn’t always travel in a straight direction once inside a pitched roof.
Here’s how you go about the task:
Wait for a rainy day and go up to your attic with a bright torch. Make sure you only step on the support beams, avoiding the insulation on top of the ceiling. If you don’t, you’re likely to damage both the insulation and the ceiling and find yourself in a pickle. And the last thing you need at this point is even more work on your hands!
Start by examining the space immediately above the stain you’ve noticed on your room ceiling and/or wall. If you can’t spot any stains straight away, think about your roof slope and flash the torch on areas where water may have travelled along. Keep an eye out for mould, dampness and discolouration – the usual signs of a leak.
Still no luck?
You’re probably checking on a dry day. In that case, the thing to do is replicate rainfall with the help of a garden hose. You can do this by yourself, but it’s a lot easier if you have someone to help you out.
Now:
Have your trusty associate climb up on the roof and run the hose on low pressure (you don’t want to damage your roof further!) above the suspected location. You should then be able to easily see water dripping. If you don’t, try a couple of nearby places, especially around chimneys, vents and skylights, until the source becomes clear.
When you’re done, mark a circle around the leak on the top of the ceiling so you can monitor it, buy your helper a beverage of their choice and get ready for the main part of the project.
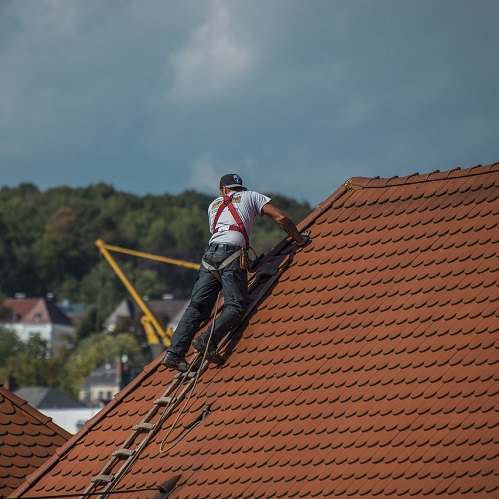
How to fix a leaking roof
Once you’ve identified the source and cause of the leak, it’s time to address it. Make sure you attempt any leaking roof repair on a dry day. Whereas professionals will be able to fix your leaky roof in pretty much any weather conditions, you should always put safety first.
With that in mind:
If you have confidence in your DIY skills, you are fully capable of fixing a roof leak by yourself after the storm has passed and your roof is reasonably dry. The exact method varies, depending on the type of roof (flat or sloped) and the roof coverings (felt, shingles, roof tiles, etc.).
Let’s take a closer look at the most common culprits and how you can tackle them.
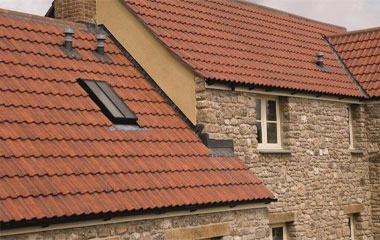
Damaged or broken tile
How do you fix a leaking tiled roof?
Start by examining the tile carefully. If it’s broken in half or otherwise damaged severely, you’ll need to replace it. To do so, use a pry bar to remove the tiles around it in order to gain easier access. Then, take the damaged tile out.
Apply sealant or roofing cement to the underside of the brand-new tile as per the instructions from the supplier and put it in place. Do the same for the surrounding tiles you removed earlier.
If the tile is simply cracked, all you have to do is apply roof sealant for leaks along the crack. If the crack is slightly bigger, you might have to remove the surrounding tiles so that you can slide the damaged one into place.
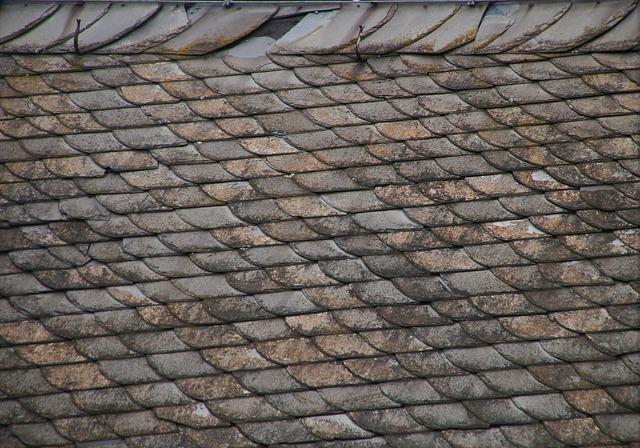
Curled or broken shingle
 Shingles have a tendency to curl at the corners over time, which is a common source of roof leaks.
If that’s the case, you’ll have to smooth out the edges with a trowel or similar tool. Then, apply roof sealant to the corners of the shingle and press firmly.
If the angle of your roof allows it, it’s a good idea to leave a heavy object on top of the shingle overnight – but you’ll have to be extra careful to make sure it doesn’t fall and injure somebody!
If the shingle is broken, you’ll need to replace it. The process is exactly the same as with a tile, so you shouldn’t face any difficulties.
Other leaky roof causes
Other things that might cause roof leaks are roof vents, damaged or loose flashing and the area around chimneys and skylights.
Now:
Sealing your lead flashing around the chimney, air vents, skylight or windows, if it’s loose, is generally enough to deal with the issue. However, if the flashing is seriously damaged, you’ll have to replace it.
What’s more:
If the leak has been going on for a while around the roof vent, it might need to be replaced as well.
Leaky flat roof
A leaky flat roof is easier to fix than a sloped one because it’s easy to climb up on the roof and find the damaged area.
For your leaking flat roof repair project, you’ll need a self-adhesive patching kit and a primer, a pair of scissors, a paint brush and a flat roof roller.
Now:
Once you’ve assembled everything, start by cleaning the damaged area around the leak. Then, apply a thick, even coat of primer over and around it, making sure it extends about a couple of inches out for better protection.
As soon as the primer is dry, cut the patching to the appropriate shape and size, gently place it over the area and press it down.
Lastly, use the roller to smooth out the patching and ensure it’s sealed properly. For more details, check out our in-depth leaking flat roof repair guide.
Leaking roof: what to do before repairs
One thing you should definitely not attempt in the middle of a storm is rushing to the roof and trying to fix things yourself. Even if the storm has subsided, your roof will still be wet and slippery. This is no place even for the most experienced DIYer.
So, the best you can do right now is to contain the damage inside. Take a look at what you need, then follow these steps.
What you need
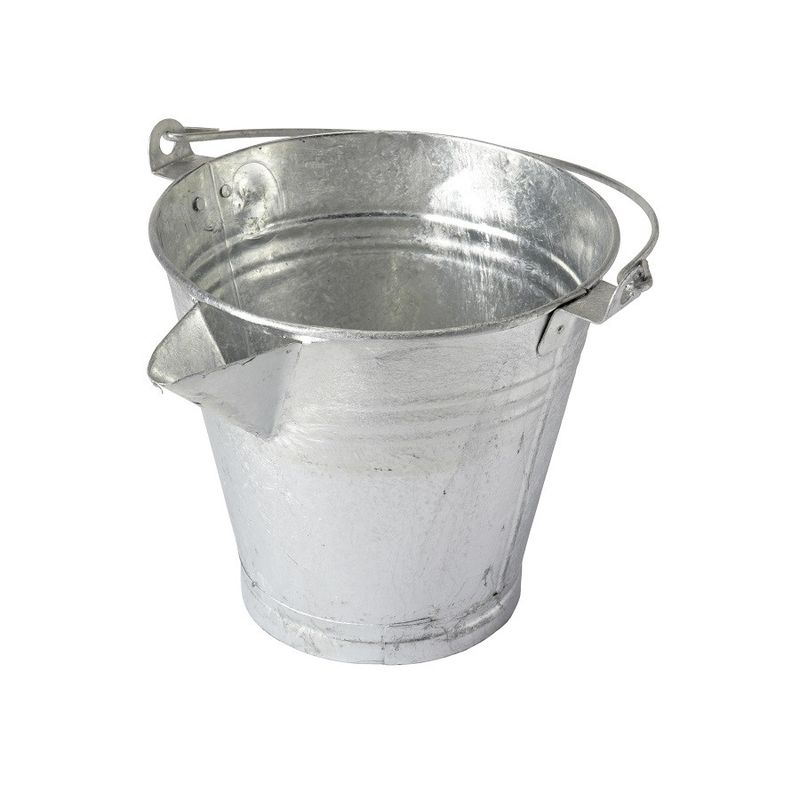
- Bucket or suitable large containers (Grab more if there are multiple leaks or the flow of the leak intensifies)
- An old towel
- Ladder
- A screwdriver or similar sharp object
- Roofing patch
- Caulk
- Caulking gun
- Roofing tape
Step one: Move furniture and other items out of the way
As per Murphy’s Law, pretty much any ceiling water leak is likely to occur in the worst possible place. Usually, right above your favourite piece of furniture, such as that lovely antique coffee table you bought a couple of weeks ago.
So, the first thing to do is move anything within at least a six-foot radius of the leak elsewhere, preferably as far away as possible.
Apart from preventing even more damage to your belongings, this will give you sufficient room to work.
Step two: Contain the leak and relieve water pressure
Grab a bucket, large cooking pot or rubbish bin and place it directly under the leak to prevent damage to the floor. To stop that nagging dripping sound, place an old towel on the bottom.
Ideally, you want to have more than one container handy, especially if the roof leak is intensifying. This way, you can avoid further water damage by rotating them when one gets full.
By now, there is likely a noticeable bulge (commonly known as a water bubble) in the section of the ceiling where water is pooling and leaking through. How do you handle that? Well, let’s look at what you do if you have a water bubble in your ceiling.
It might seem counterintuitive, but the thing to do is to go up on your home ladder and puncture the bulge in the centre with a screwdriver or similar sharp object. This will allow the water to escape more easily.
Not puncturing the bubble will lead to one of two things:
- The water will find its way into the walls or;
- The affected part of the ceiling will eventually collapse altogether.
These scenarios are the last thing you want to deal with.
By poking a hole in the bulge, you will prevent further ceiling water damage.
Step three: Try to effect a temporary fix
So, you’ve successfully contained the leak, now what? Well, we highly recommend a temporary fix.
With that in mind, here’s how to fix a leaking roof from the inside. You’ll need to access the attic for the first step. You can find out via how to find a leak. Once you have access and have fixed your leaking roof from the inside, move on to the next stage.

Step four: Get professional help
Now that you’ve done everything you can to stop the rot (quite literally, when it comes to the wooden parts of your roof), it’s time to call the professionals.
It’s best to do this immediately, especially during the rainy season, because professional help might not be available immediately.
Additionally, a leaky roof won’t magically sort itself out. The longer you delay, the worse the underlying structural issue will get.
How to fix a leaking roof from the inside
People often wonder:
“Can you repair a leaking roof from the inside?”
Yes, you can! However, keep in mind that this roof leak repair method is only a temporary fix – you’ll still have the address the underlying cause sooner rather than later.
In the short term, however, fixing a leaking roof from the inside might prevent serious damage to your furniture, carpets and so on.
Here’s the scoop:
Apply a thick, even coating of roof patch over the affected area and allow it to dry. Next, apply caulking around the edges and any holes to ensure everything is waterproof.
This should do the trick until you’re ready to carry out the permanent roofing fix yourself or call in the professionals.
Pro tip: A straightforward patching job like this can be useful in multiple situations. So, it’s a good idea to always have the relevant tools, such as roofing tape, caulk and a caulking gun in your house.
Roof leaks repair cost
Your leaking roof repair cost will largely depend on the cause of the leak and the extent of the damage.
As we’ve already seen:
Fixing roof leaks caused by a cracked tile or a curled shingle is quick and easy. And even a broken tile or shingle is fairly straightforward and inexpensive to replace all by yourself. Plus, you’ve probably got a few spare ones lying around anyway.
On the other hand:
If the damage is extensive, you’ll have to get professional help.
Once again, the prices will vary depending on the roof type, the material it’s made from and the size of the area which needs to be repaired.
Here’s the deal:
The average repair cost of a flat roof in the UK is £100 per 1m². The equivalent for pitched roofs made from clay, concrete or slate ranges is in the £140- £180.
That may sound like quite a bit, but it’s nothing compared to felt roofs – if you have one of those, you’ll have to part with as much as £1,245-£1,465 per 1m².
Does building insurance cover roof leaks?
Most home insurance policies cover roof leaks caused by a sudden, unexpected event. An example of this is massive storms accompanied by hurricane winds. However, your insurance will not cover roof leaks due to wear and tear or lack of sufficient maintenance. This is where the problem lies.
The thing is, most insurance companies would argue the damage is, in effect, your fault due to negligence. So, how do you avoid being turned down for roof leak insurance?
First, take multiple photos of the extent of the damage as soon as you’ve gone through the four steps outlined above. You need as much evidence to support your claim as you can gather, so dig up any receipts of recent maintenance work on your roof to include with your claim.
Second, contact your insurer immediately to explain the situation and set the whole process in motion. These types of claims tend to drag on here, so speed is of the essence.
Don’t be afraid of fixing a roof leak
Roof leaks are one of those things you, like all homeowners, will have to deal with at some point. Especially if your house is an older build.
Luckily, you shouldn’t be afraid of fixing a leaky roof.
The thing is:
While there are many things that might cause a roof leak, most of them – like a cracked tile or a curled shingle – aren’t that difficult to attend to by an experienced DIYer.
The tricky part is actually detecting the source of the leak. And once you’ve done that, you’re well prepared to deal with it now that you know how to repair a leaking roof.
How to stop roof leaks from happening
A leaking roof is a major accident waiting to happen, even when the leak appears minor.
That’s why you must maintain yours properly. At the first couple of signs of a roof leak in the attic, you must act and address the underlying cause as quickly as possible.
Furthermore, biannual checks by professionals are highly recommended. Even if you’re a skilled DIYer, you might miss a tiny little thing, which could eventually lead to a massively big issue.
The bottom line is if you take all these precautions, chances are you won’t have to wake up to water leaking through the ceiling. But even if you do, you now know what to do with a leaking roof.

Was this guide useful?
Mentioned in this project guide: