
21st September 2023
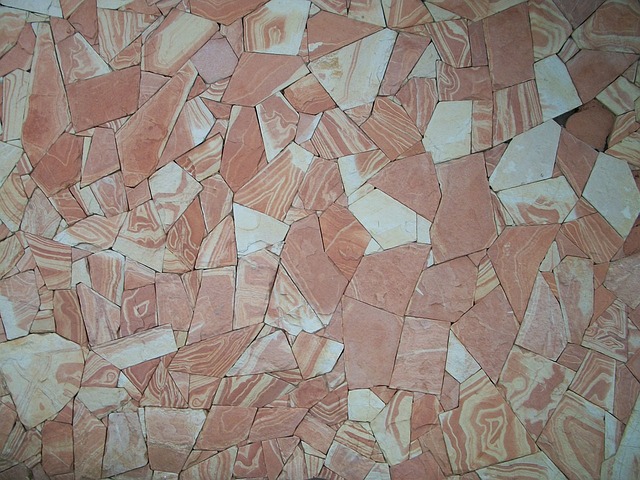
Flagstones have been around since Roman times – and for a good reason!
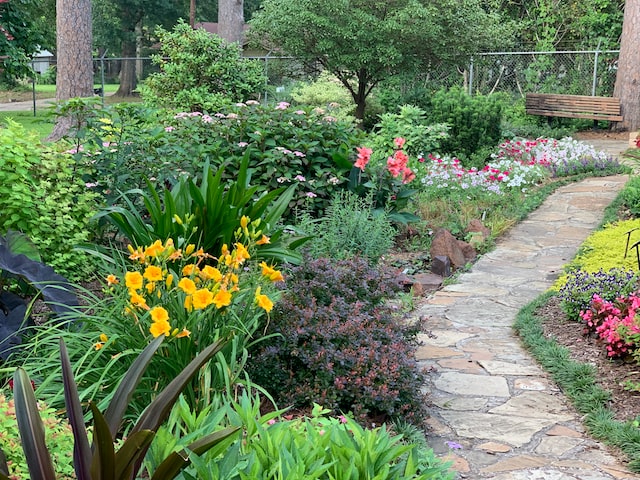
They’re durable and stylish, and they make a wonderful flagstone patio or flat roof finish.
They’re also incredibly trendy right now.
And if you’ve decided to take your garden or flat roof to the next level for the full enjoyment of those long, lazy British summer weekends, you’re probably wondering:
What is the best way to lay flagstone?
What do you put under flagstones?
You’ve come to the right place!
At Roofing Superstore, we have all the answers when it comes to laying flagstones.
And believe it or not, it’s not that hard!
Read on to find out how to lay flagstones.
Table of contents:
How to lay paving slabs two ways
Generally speaking, there are two ways of flag laying – dry-laying and mortaring.
What’s the difference between the two?
Dry-laying slabs on gravel is an easier and cheaper method. It’s perfect for smaller projects like a garden path.
On the other hand, mortaring tends to be more expensive and more difficult. It’s ideal for a large construction, such as a patio.
Let’s take a closer look at each method.
Installing dry-set flagstones
Dry-laying concrete flagstones involves placing them on top of sand and gravel. Once you’ve measured the area and purchased your flagstones, you’ll need to follow a few simple steps.
Step 1: Dig out the working area
How do you prepare the ground for paving slabs?
Use a sturdy spade or shovel to excavate the area where you’re going to place the stones. You should dig anywhere between 3″ and 6″ depending on the thickness of your stones. Basically, you want the patio or walkway level with the surrounding surface.
Once you’ve made the necessary excavations, use a spirit level to ensure the entire area is flush. If that’s not the case, make any necessary adjustments.
Step 2: Lay out the base
Many people wonder:
Can I lay slabs on soil?
While it is possible, we wouldn’t recommend laying paving slabs on soil. Flagstones placed directly on soil are not suitable for heavy traffic, and the composition of the soil might compromise their integrity over time and cause cracks.
So, it’s best to be on the safe side and start with a foundation.
Now:
Your base or foundation when laying slabs should consist of two slab layers. The first one should be 2″-4″ of gravel. Pour it out, then use a rake to smooth the surface and tamp it down firmly.
Next, do the same thing with your second layer. Pour 1″-2″ of sand over the bottom layer, make sure it’s smooth and tamp it down.
Pro tip: Some experts recommend using a third layer at the very bottom of your foundation, underneath the gravel and sand – landscape fabric. This will stop the growth of any weeds and provide a barrier between the rest of the foundation and the native soil. While that’s not absolutely necessary, you might want to consider it.
Step 3: Lay out the stones and level them
Place the stones carefully in your desired pattern. Start from the edges of the working area and make your way inwards. Larger stones should go near areas that see a lot of traffic, such as doorways.
Once everything is in place, tamp down each stone with a rubber mallet. Check the whole area is flush and make any necessary changes. Basically, you don’t want any stones sticking up more than a couple of millimetres, as that’s a tripping hazard waiting to happen, especially when it’s raining.
Step 4: Fill the gaps
The last thing you need to do when laying flagstones in this manner is to fill the gap between them.
The good news is:
You have plenty of options here.
You can go traditional with gravel, sand or decomposed granite. Alternatively, if you’re feeling fancy, you can use plant material such as wild thyme or grass to create a stunning visual effect.
Installing mortared flagstones
Mortared flagstones are fixed permanently onto a mortar bed applied to a concrete slab or a foundation of compacted gravel and sand. This is arguably the best way to lay slabs for long-term support.
Here’s how you go about doing it.
Step 1: Prepare and lay the mortar
To mix your mortar, start by adding two measures of sand to one measure of cement. Then, carefully add water while stirring until you get the desired consistency.
At this point, it’s time to lay your mortar bed.
Now:
There are different ways you can go about laying mortar. Some people go for a full bed. Some people do lines. Some people do dots.
If you have a preferred method that you’re comfortable with, by all means, go for it. If not, we’d recommend laying dots. This way, it’ll be easier to level the paving flagstones with your mallet and make sure they’re flush.
Keep in mind that the ideal mortar bed thickness for paving slabs is approximately 1.5″.
Step 2: Lay the stones in the mortar
One by one, lay your garden decorative slabs in the bed of mortar, press it down firmly with your hands and level it with a rubber mallet.
Use a spirit level to make sure each stone is flush horizontally as well as vertically.
Once you’ve covered the entire working area, let it dry completely for up to 24 hours.
Step 3: Fill the gaps
Finally, it’s time for filling the gaps between flagstones. As with dry-laying, you can use different materials to do this.
For instance, you can use slightly drier mortar (approximately four parts sand to one part cement). Simply push it into the joints with a spatula for plenty of support.
Alternatively, you could go for grout, sand or gravel.
Whatever material you choose, make sure you sweep away anything that remains after application with a sweeping brush. If using mortar or grout, allow sufficient time for the slab laying mix to dry.
And that’s it! You can now enjoy your new patio or walkway.
Final thoughts
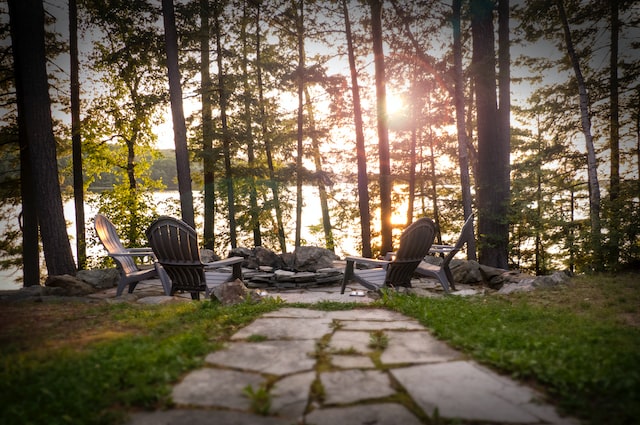
Whether you’re considering a garden patio, walkway or a flat roof patio, flagstones are going to be a central part of your project.
Here, you have two basic options – dry-laying and mortar-laying. It’s up to you to decide which method is right. When in doubt, always consult a professional.
That being said:
You shouldn’t be afraid to give laying flagstones a try yourself. Sure, it’s quite a lengthy process, which requires a few DIY skills.
But if you’re willing and able to devote the time, patience and energy, it can be incredibly rewarding – not to mention cost-effective!
And now that you know how to lay flagstones, you’re well prepared to have a go at it.

Was this guide useful?
Mentioned in this project guide:


