A pitched roof is one of the most popular forms of roof available.
Although building a pitched roof can be relatively daunting at first, the end result is always worthwhile.
But what are the benefits of choosing a pitched roof, and how do you build a pitched roof?
Read on to find out everything you need to know about pitched roofs.
Table of contents:
What is a pitched roof?
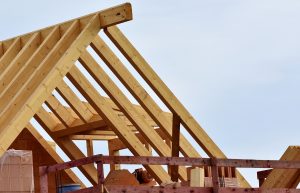
A pitched roof is a roof of a building that has a slope or angle to it. Generally pitched roofs are dual pitched, meaning that they have two sides, but pitched roofs can also be mono-pitched, sloping in one direction only. Pitched roofs have been used on buildings for hundreds of years, providing a weathertight shelter for homes and businesses alike.
Why choose a pitched roof?
There are a number of benefits to choosing to build a pitched roof over a flat or sloped roof.
i) Versatility
Firstly, pitched roofs can be used on both contemporary and more traditional buildings alike. Although the structure of pitched roofs is often very similar, the material used and the finished product can be incredibly varied.
ii) Long-lasting
Secondly, pitched roofs are designed in such a way that adds durability, resulting in a long lifespan. Not only are they structurally sound due to the supportive design ensuring that any weight is evenly distributed across the whole roof, but the pitched design of the roof also allows rainwater to flow off easily, as well as preventing snow from building up, by naturally channelling rain and snow into the gutters.
This means that the pooling of rainwater is much less likely, any damage due to additional weight is unlikely, and maintenance is minimal.
iii) Storage space
Additionally, pitched roofs provide the option for extra storage or even an extra room. As space increasingly becomes a premium in the housing market, this can be a great way to add value to your home or building.
iv) Sustainability credentials
The wide variety of pitched roofing materials and extra roofing accessories with sustainable credentials available for use on pitched roofs means that your pitched roof can be environmentally friendly, which is becoming increasingly important as the focus on sustainability and minimising environmental impact grows.
Choose from recycled slate, Envirotiles, and other sustainable materials, and opt for solar panels and rainwater harvesting to further minimise your environmental impact.
If you’d like to find out more about the different types of pitched roofs and their specific benefits, head over to our comprehensive Pitched roofing buyer’s guide.
How to build a pitched roof
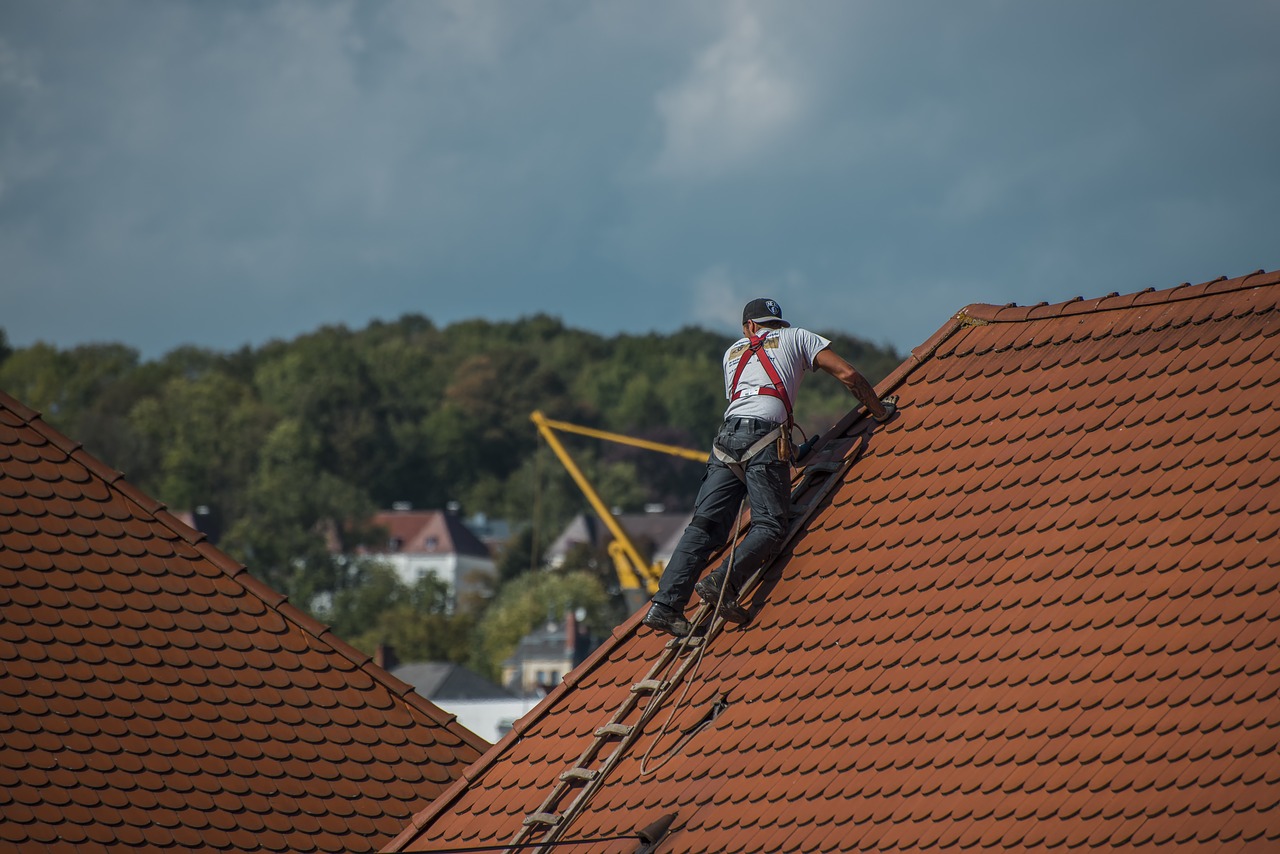
Building a pitched roof is generally left to the professionals, due to the importance of a structurally sound roof, as well as working at height and the need for large pieces of timber to be lifted.
However, if you have experience in construction projects, or know of skilled friends that are likely to help, it can be done. Below is a simple guide to the steps involved in building a pitched roof, but you should always follow instructions from manufacturers and professionals. Any work you undertake is done at your own risk.
1. Location
Before beginning the construction of a pitched roof, the first step is to consider the location of the roof, and ensure there are no overhanging branches or electrical cabling that may cause issues. Once you’ve ensured that there are no potential obstructions, the calculations can begin.
2. Calculate the roof pitch
The first calculation you need to do is to determine the desired pitch of the roof. If you’re looking for a low pitch, the ratio will be around 2:12 or 3:12. For a steeper pitched roof, consider 6:12 – this means the roof will rise by 6 inches for every 12 inches horizontally.
3. Calculate the amount of material required
Once you’ve calculated the desired roof pitch, you can calculate the amount of material required by calculating the roof area. This can be done easily by using a roofing calculator app, but we’ve also written a guide on the manual way to calculate the roof area.
4. Create a plan
Once you’ve worked out how much material is required, draw out a plan with measurements, angles and the layout of the overall roof. This will help calculate the spacing required between roof trusses, the angles they should be installed at, and any other considerations more accurately.
5. Order materials
Don’t forget to also place an order for all required materials at this point, as they may have a lead time of a week or two. Generally, materials will include plywood, underlay, timber battens, roof covering (tiles, slates, metal sheets, shingles), roofing nails, and any other tools required. If you need any help placing an order, just call our team of experts on 01752 692760 and they will be more than happy to help.
Once you’ve received your materials the construction and installation of the roof frame can begin.
6. Raise trusses onto the building structure
First, ensure the tops of each wall are square, level and plumb. Now hoist the trusses onto the roof, and space them out and into position. Generally, trusses will be 12, 16 or even 24 inches apart, but this depends on the specific design of your roof.
7. Fit temporary braces
Next, fit some temporary braces that will support the roof trusses. To do so, nail a 16-foot long 2 by 6 board to the centre of the back wall vertically. Then nail another two pieces of the same dimensions six feet on either side of the first central brace. Then repeat at the other end of the roof.
8. Fit the first roof trusses
Take a roof truss, ensuring it is slightly longer than the required length, and fix it to the end truss. It should jut out slightly, and then fix it to the central brace. Then repeat on the opposite side of the roof, before repeating again on the other end of the roof.
9. Create a central support
Now take a timber truss that stretches across the length of the building. Fit this to the central temporary brace at either end of the pitched roof.
10. Add roof trusses
Now, working towards the front of the building, add roof trusses at regular intervals, ensuring they are attached to the horizontal truss and the central truss that runs across the top of the roof. The frame should begin to take form, with trusses sitting at an angle to the horizontal trusses.
11. Install permanent bracing at each end
Once the framework takes shape, the permanent bracing can be installed at each end of the roof as per the manufacturer’s instructions. Ensure all trusses are anchored and secured.
12. Add sheathing
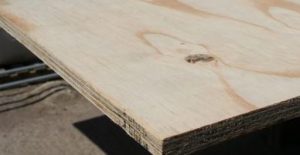
Now the framework is complete, the roof can be sheathed. Starting at the bottom corner, install sheathing, such as plywood sheets, by moving horizontally across the roof, ensuring there is a small gap between each sheet, and that each join occurs over a roof truss. We’d recommend using shank nails, and each nail should be 6 inches apart, and half an inch in from the sheet edge.
Once the first row has been installed, move up to begin a second row. Some manufacturers recommend beginning the second row with a half sheet to stagger the sheathing.
13. Install drip edge
Once the sheathing has been installed, the drip edge can be fitted along the bottom of each roof edge. The drip edge ensures water drains effectively out from the roof structure.
 14. Add the underlay
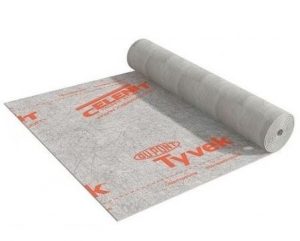
Next, install the roofing membrane or underlay. The underlay acts as a waterproofing layer, protecting the roof structure and sheathing and directing the water into the drip tray. This should be rolled out from the bottom of one corner upwards, ensuring there is an overlap into the drip tray.
Once the first piece of underlay has been stapled into place, the second can be installed with an overlap of around 6 inches.
Continue across the side of the roof, then repeat on the other side.
15. Add the roofing material
Now the roof cover material can be installed. If working with tiles, shingles or slates, timber battens will need to be installed. For more information, take a look at our guide to slating a roof and our guide to installing cedar shingles.
Don’t forget to install ridge tiles, or opt for a dry ridge system, to ensure the ridge is weathertight and waterproof. Additionally, guttering, fascia and soffit boards may be required. For more information on the difference between fascia, soffits and capping board read our guide.
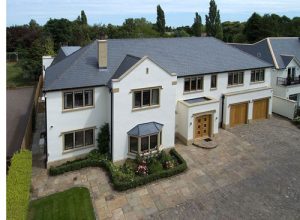
Here at Roofing Superstore, we’ve got everything you need to create the perfect pitched roof. From timber battens and underlay to roof tiles, roof slates and more, just browse our website to find out what you need. If you’re having any trouble finding a product or need some advice, don’t hesitate to call our team of experts on 01752 692760 and they will be happy to help. Alternatively, just use the live chat in the bottom right-hand corner.


