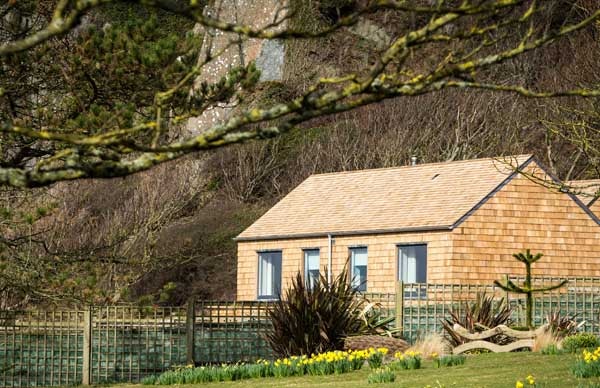
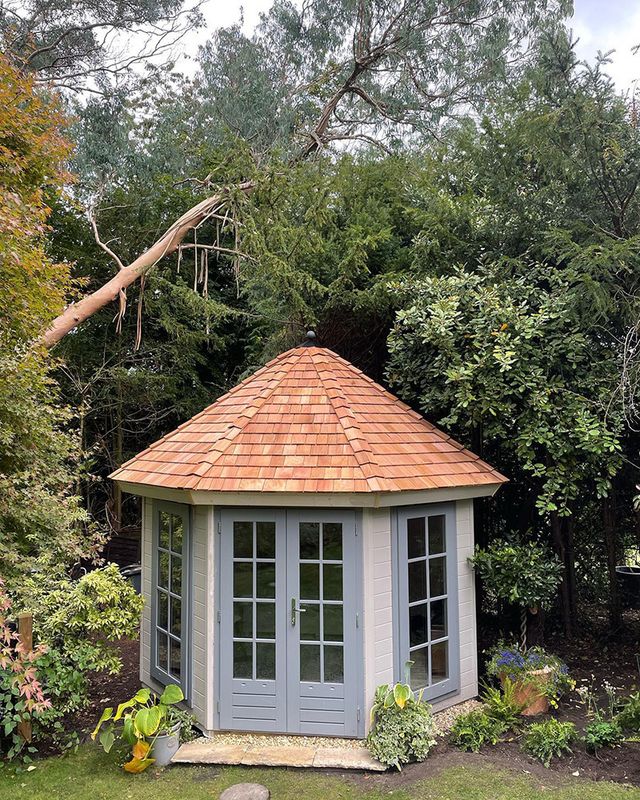
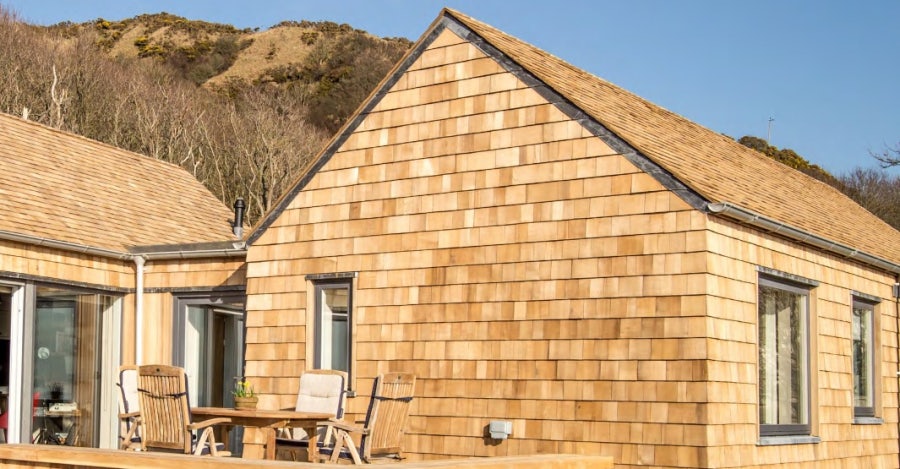
Cedar shingles are becoming an increasingly popular roof material as the desire to use products that are sustainable and eco-friendly yet also practical and attractive grows. Sustainability is becoming a key focus within the construction market as people strive to create buildings that have a minimal effect on the environment around them, whilst still being functional, comfortable and aesthetically pleasing.
Here at Roofing Superstore, we have a number of cedar shingles available to choose from, including Western Red Cedar shingles and Eastern White Cedar shingles. Unsure how to install cedar shingles on a hip roof? Read on to find out more, or call our team on 01752 692760 or use the live chat if you still have any unanswered questions.
Table of contents
- How to install cedar shingles on a roof
- How to install cedar shingles on a wall
- Estimating coverage when laying cedar shingles
- Quantities of cedar shingles and fixings
Benefits of using cedar shingles
Sustainability
Cedar roof shingles are a bi-product of logs that are processed at sawmills, meaning very little added energy is required in the manufacturing process. Additionally, cedar shingles are supplied from sustainable and responsibly managed forests, ensuring that more trees are planted than are processed through sawmills. This helps to minimise the environmental impact of using cedar shingles.
Durability
Cedar is an incredibly durable material and contains naturally occurring oils which make the wood resistant to decay and insect attacks, contributing to cedar roof shingles having a lifespan of over 50 years.
Dimensional stability
Cedar shingles are a good roofing material because of the dimensional stability of each shingle. Cedar shingles are flat and relatively straight and are able to retain their original dimensions even in humid conditions, as moisture only has a minimal effect. Additionally, cedar shingles are easy to cut with a saw or utility knife.
Insulating
Wood shingles, and particularly cedar shingles, have higher insulating properties than traditional roofing products, and up to double the R-value (resistance to heat flow) than that of bitumen roofing. This means that cedar roof shingles help to keep the building warmer in cold seasons, and cooler in warm seasons, reducing energy costs required to keep the building at a comfortable temperature.
Aesthetics
As well as providing a number of environmental and structural benefits, cedar roof shingles create a natural yet stunning roofline. Over time, western red cedar shingles weather to a natural red-brown colour, whilst eastern white shingles weather to a silvery grey.
How to install cedar shingles on a roof
When installing cedar shingles on a roof, you’ll require the following items:
- Cedar shingles
- Cedar shingle ridges
- Non-breathable underlay
- Eaves vent system
- Self-adhesive tape
- Roof battens
- Nails or staples (steel ring shank nails or silicon bronze nails recommended)
- Handsaw or utility blade
- A cedar shingle cutter (i.e. a utility knife)
- PPE (e.g. goggles, gloves)
- Hammer or nail gun or stapler
NB: This guide can also be used if you’re looking at how to install cedar shingles on a shed.

Step 1
First, secure the over fascia ventilation and felt support tray at the bottom of the roofline. These will help to ensure air flows below the underlay into the roof space.
Next, install the non-breathable underlay across the roof. Ensure there is a significant overlap between layers of underlay, to create a single complete covering with no gaps. Then dress the underlay down to the bottom of the felt support tray before securing it into place with self-adhesive tape.
Step 2
Now fix battens along the width of the roof. The first roof batten should be 125mm from the outer edge of the fascia (measured to the centre of the batten), and each batten thereafter should be 125mm apart.
Step 3
Set out the first course of cedar roof shingles – when starting out, ensure there is a 38mm (roughly 1 1/4 – 1 1/2 inches) overhang projecting over the verge and eaves.
As you move across the row, ensure a 5mm (roughly 1/8 to 1/4 of an inch) gap is between each shingle. Don’t skip this step as it allows the shingles some room to contract and expand throughout the seasons. Secure the shingles with two silicon bronze nails approximately 28mm (roughly 1 inch) below the top edge of the shingle and 19mm (roughly 3/4 of an inch) from the edge of the shingle.
The first course of cedar shingles should be a double course, i.e two layers of shingles.
Shingles should be laid in a broken bond pattern, which consists of the shingle above being fitted over the join of two shingles below.
Step 4
Fix the shingles into place with either stainless steel ring shank nails, silicone bronze nails or staples. As within the previous step, make sure each fixing is 19mm from the edge of the shingle, and 28mm up from the butt of the course above.
Whilst fixing shingles, use a chalk line to ensure all fixings are in line. Again, it is important to allow a 5mm gap between each shingle to allow for natural thermal movement.
Step 5
When you reach the ridge, the top courses of shingles will need cutting with a hand saw or utility knife to retain the 125mm gauge. There are a number of pre-formed hip and ridge shingles that can be installed on the roof ridge to create a secure and protective roof ridge.
Work from one gable end to the other laying a ridge and fixing it with a nail through either side of the ridge line. Follow this with the next ridge, overlapping the previous by the smallest amount required.
Watch and learn how to lay cedar shingles with Marley Eternit
How to install cedar shingles siding
Looking for how to install cedar shingles on a wall? Although less popular in the UK than in countries such as Canada and the USA, using cedar shingles as siding on walls of buildings can be a great way to finish your home or building, adding a point of difference whilst still having a protective and insulating siding.
Step 1
Before installing any cedar shingles, the first step is to wrap the house in a waterproof membrane or house wrap, as well as to cover windowsills with FlexWrap to ensure they are waterproof. You’ll also need to install drip edges along the tops of windows and doorways.
Step 2
If not already in place, make sure the windows and door jambs have been installed, before adding wood trims around them.
Step 3
Decide where the bottom line of the shingles will start – typically this will be the bottom of the wall sheathing, but this may vary on buildings with concrete foundations.
Step 4
Nail the first shingle to the wall sheeting so that it goes down to where you’ve decided the bottom line of the shingles will be, and then add adjacent shingles at the same level, using a chalk line to ensure they are level. Work your way around the house, adding shingles along the level line, and keep checking they are level with a spirit level.
Use 1.25-inch roofing nails, with two nails per shingle. Ensure the head of the nail is flush with the shingle but without penetrating it. The last shingle may need cutting in order to fit into the remaining gap.
Step 5
Now mark a line on which the next row of shingles will be fixed. This line is usually around 6-8 inches above the previous row, so make a mark on the wall and then use a chalk line for guidance. This line is usually 6-8 inches above the previous row but depends on how much of the shingles you want to be exposed. Add further lines above this first line with the same distance apart for the rest of the shingle rows.
Step 6
Now install the next row of shingles, ensuring the bottom edge of each shingle is flush with the chalk line. Use a staggered pattern to ensure the joints between shingles do not go up the wall in one continuous line, but instead, ensure the shingle overlaps a joint on the row below.
Step 7
Continue installing shingles up the wall, following the above steps for each row of shingles. Once you reach the top of the wall, the shingles will need to be cut to fit into the remaining space.
Finally, install wood trim at the top edge of the wall to cover the edges of the top row of shingles and create a uniform finish.
Estimating coverage when laying cedar shingles
Shingles are supplied in bundles and so the coverage depends on the application chosen for your project.
| Use | Max. gauge | Coverage | JB-Red 25x38 Battens per m2 | Silicon bronze nails | JB ShingleFix SS staples | Laid weight |
| Roofs 22°-89° | 125mm | 2.28m2 | 8 | 0.08 kg per m2 | 0.035 box | 7.0kg |
| Roofs 4°-21° | 95mm | 1.73m2 | 10.5 | 0.1 kg per m2 | 0.046 box | 9.3kg |
Quantities of cedar shingles and fixings
When laying cedar shingles, these should be fixed with silicon bronze nails.
| Product | Quantity of pieces per box/bundle | Coverage per bundle | No. of bundles |
| 1 bundle of shingles | 120 approx | 1.73-3.47m2 (dependent on roof gauge – refer to above table) | n/a |
| 1kg of silicon bronze nails | 1450 | n/a | 6 |


