
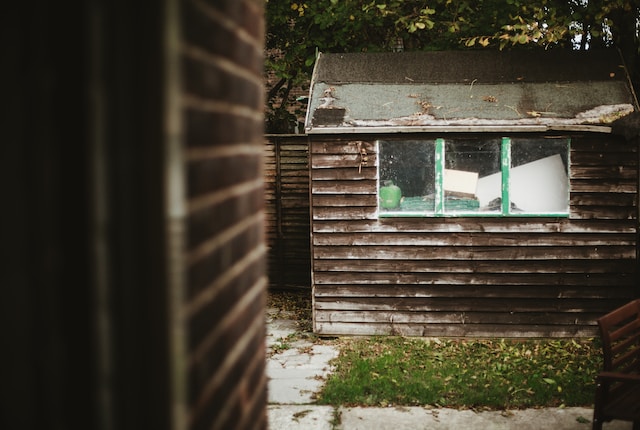
Is your garden shed looking a bit old, or tired and leaking?
If that’s the case, you’re probably wondering:
Can you put new roof felt over an old shed?
Indeed, you can! As a matter of fact, felting a shed roof is easier than you might think.
It’s also guaranteed to give your shed a much-needed makeover, as you say goodbye to nasty leaks.
At Roofing Superstore, we’re here to show you exactly how to felt a shed roof in a few simple steps.
Let’s dive right in.
Table of contents:

Tools you’ll need
First things first – let’s gather our tools. In addition to new shed roof felt, you’re going to need the following:
✅ Step ladder
✅ Tape measure
✅ Pencil or marker
✅ Claw hammer
✅ Utility knife
✅ Fascia boards
✅ Felt nails
✅ Straight piece of timber
How to lay a felt roof step by step
Once you’ve assembled everything, it’s time to get to work laying roofing felt – but only if it’s not raining!
Does the shed roof need to be dry before felting?
Yes, it does! So, make sure you choose a dry, warm day for this project.
Now:
If you need to refelt your shed roof, you’ll have to remove the old felt before proceeding with the shed roof felt replacement.
If you’re working on a new shed, skip the first step.
Step 1: Remove the fascia boards and old shed roofing felt
Using your claw hammer, carefully remove the old fascia boards and examine them. If they’re not rotten, you can reuse them later – otherwise, you’ll have to replace them with new ones.
Next:
Remove the old felt and the old nails keeping it in place with your hammer. It’s a good idea to take the opportunity to hammer down any uneven boards.
Step 2: Measure and cut the felt
Measure each strip of felt so that it overhangs by 50mm at the eaves and by 75mm at the gable ends. Then, place the straight piece of timber and use your pencil or marker to draw a line you’ll cut alongside.
Remember – always measure twice and cut once!
Depending on the size of your shed roof, you’re going to need either two or three pieces of felt – we recommend using three pieces to ensure decent roofing felt overlap.
Step 3: Apply the roofing felt for the shed

Place the felt on either side of the roof and press it down firmly so it’s completely flat. Nail it to the roof at 100mm intervals along the length of the roof starting just below the apex and making your way down.
Once you’ve done the side sections, apply the third piece of felt to the ridge. This piece should be 300mm wide so that it extends around 150mm on each side.
Some people wonder:
Do you need adhesive for shed felt?
You do, for the top.
So, go ahead and apply roof felt adhesive to this section before nailing it at regular 50mm intervals.
Step 4: Take care of the overhangs
Fold down the overhang at each side and nail it into place. Use your utility knife to cut a slit in the overhang at the top of the roof, fold it down, and nail it into place at 100mm intervals along the gable.
You’re almost there!
Step 5: Re-attach the fascia boards
Hammer the fascia boards back into place over the folded felt. If any felt is still showing afterwards, you can cut it away with your utility knife, so the shed looks neat and tidy.
Finally, complete the overhand along the sides of the shed roof by tucking the felt up and under and securely nailing it in place.
And that’s it – your shed is as good as new! Take a step back and admire your new shed roof.

Final thoughts
Felting a shed roof is a straightforward enough task that any DIYer should be confident about taking on.
And now that you know how to felt a shed roof, that includes you!
Remember – getting the measurements right is the only tricky part. So, make sure you take your time measuring and cutting the felt.
Also, try to buy the best roof felt you can find. This way, you won’t have to change it every year or so, simply giving it a quick shed roof repair instead.


