Panelling a wall has been a popular returning trend in recent years. The process requires no major invasive construction and can be a fantastic change to make if you want something new for your wall on a budget. Follow this guide to see how you can panel your wall to create a brand-new look in a few simple steps.
Table of contents
History of wall panels
The 15th century was a time when wood panelling was seen as THE design to have, though this didn’t hit the domestic sector until the 16th century. Today it maintains its popularity, being one of the most cost-effective ways to change up the look of a room.
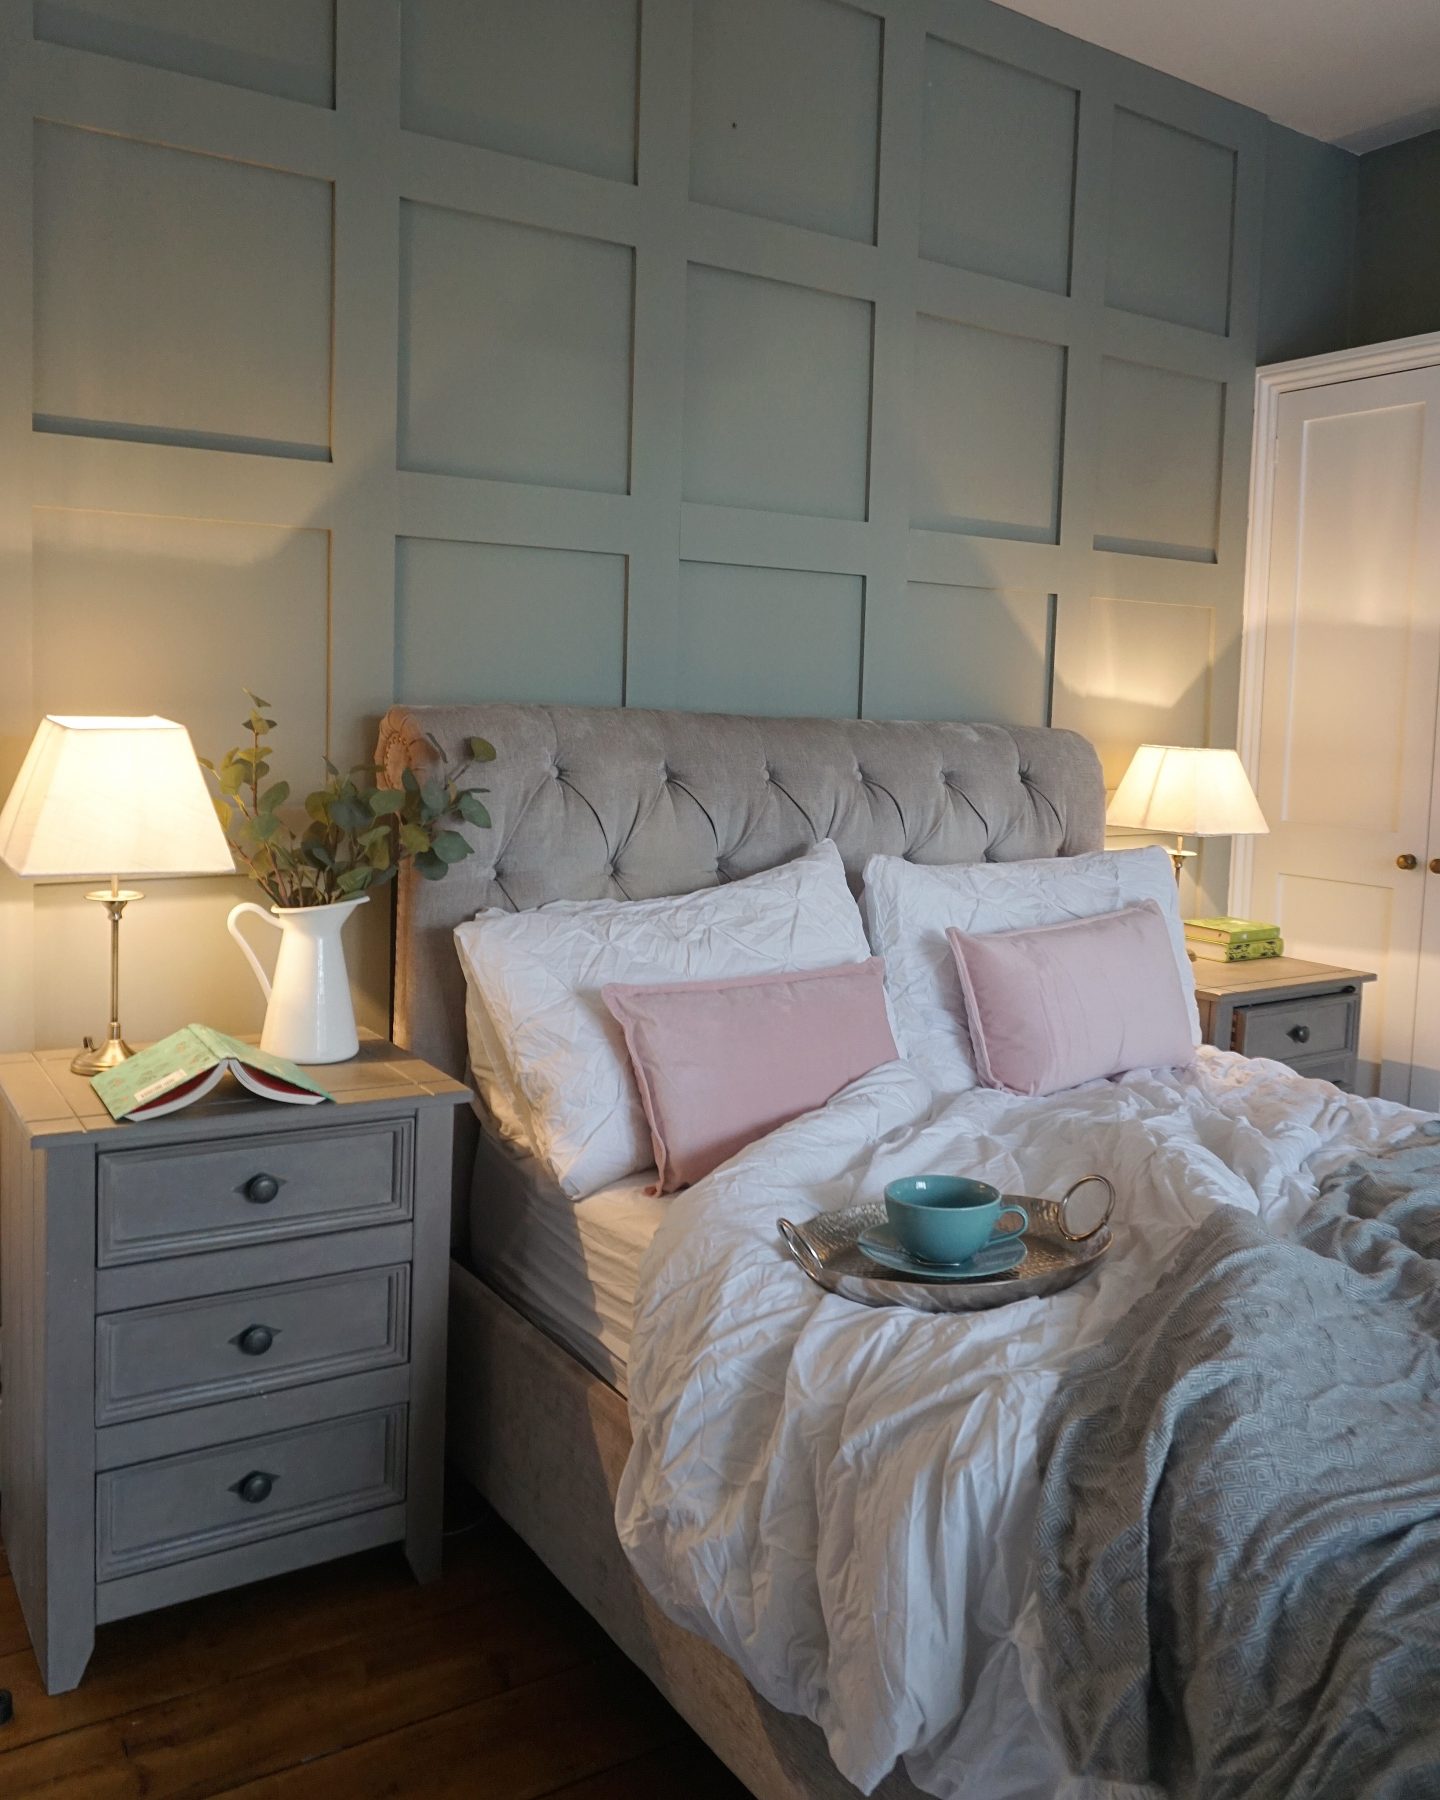
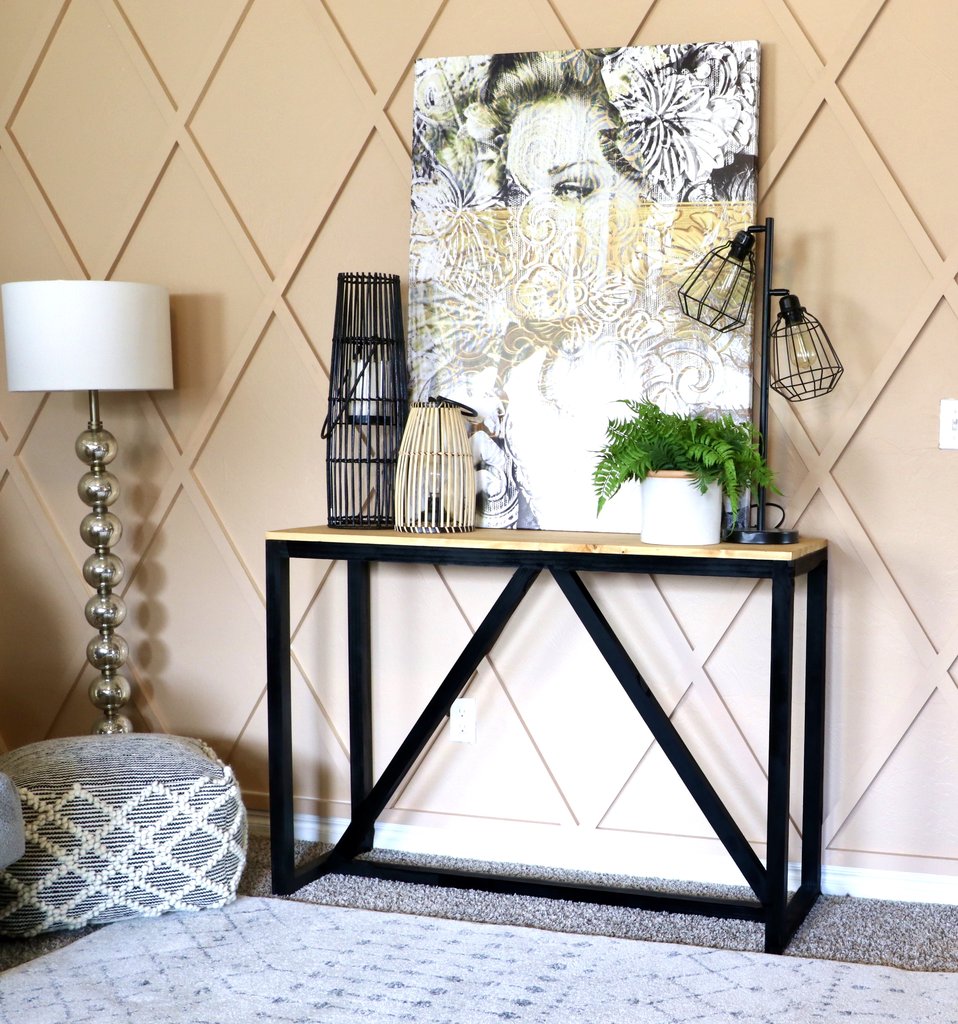
Here is an example of a fully panelled wall:
Check out the steps below to find out how you can DIY wall panels for your room.
What you need
- MDF or plywood with a depth most suited to skirting board
- Measurement of the width you will be cutting the panels to
- Tape measure
- Paper
- Marking tool (pen or pencil)
- Large spirit level
- Wall plugs (optional – see step 4)
- Caulk
- Sanding tool
- Primer
- Paint (colour of your choice)
- Countersink drill bit (optional – see step 4)
- Nails (optional – see step 4)
- Nailing gun (optional – see step 4)
- Glue (optional – see step 4)
- Screws (optional – see step 4)
How to apply panels to a wall
Step 1: Measurements for wall panels
Measure the width of your wall (confirm measurements to finalise the wall width in your notes). Once that is done you will need to work out the distance you want to have between each of the vertical panels – this will determine the number of panels you need.
Step 2: Finalising wall panel measurements
Once you have the above measurements, do the following equation:
Number of panels wanted x panel width = figure.1
Then take the width of the wall and subtract ‘figure.1’ gained from the previous equation:
Width of wall – figure.1 = total sum you can play with when it comes to gaps between the panels.
Once you have the total sum, divide that total sum by the number of gaps you will be left with:
Total sum ÷ gaps between panels = figure.2
Following this, you will need to work out the height you want for the panels. This will depend on specific things in the room (windowsills etc) that might affect the final heights of each panel.
Once you have that, you can begin finalising the calculations by working out how many horizontal panels will be needed to go across the top of the vertical panels. Take the height of the panels and work out how many can fit across the width of the room. Example calculations as follows:
Width of room ÷ height of panels = total number of panels needed horizontally.
Step 3: Marking the wall
Use the tape measure, pencil and spirit level for this next step. Draw out the panelling on the wall as this will help finalise the measurements. This way you can also make a note of any potential features in the way (plug sockets, light switches etc).
You’ve got the measurements and the markings, now you can purchase your MDF or plywood. At Roofing Superstore you can find a range of MDF and plywood available to choose from and purchase directly from the online store.
Step 4: Installing the DIY wall panelling
You may be wondering what the best way to install the panels is. In fact, there are two possible ways you can do so:
Method 1: Screws
This first method is one that requires no form of adhesive. Be warned that this is the method that takes longer, but offers a more cost-effective and time-saving solution if you decide to remove it in the future.
Simply drill three holes into the top, middle and bottom of your panel (if your walls are straight, you can save doing the middle screw) to support the flatness of the panel and reduce the risk of a bow in the centre.
Using your marking tool, mark where the holes will be on the wall – vertical holes then horizontal holes. Once these holes are marked you can then drill the holes into the wall and insert the wall plugs.
Next, create a small cavity using a countersink drill bit to ensure the screw can sit flush in each drilled hole of the panel.
Screw the panels to the wall, repeating the process across the marked locations.
Repeat for all panels until complete.
Method 2: Glue and a nail gun
This option is for those who don’t have a continuous need to change their room appearance as you will need to re-plaster the wall behind the panelling after it’s been removed.
This is the quickest and easiest way to install wood panelling. If you don’t have a nail gun, you can purchase one at Roofing Superstore alongside your panelling purchase.
Step 5: Sealing the edges
Use caulk to fill all holes and cover all edges with poly filler. Let this dry, then sand the poly filler back. Repeat if needed to ensure that the appearance is smooth.
Step 6: Decoration
Add primer to the panelling and paint in the desired colour you want for the room. Congratulations! You now have fresh new panelling!

Discover more panelled wall designs!
Got another style you want to try? Check out these beautiful examples of designs below!

Was this guide useful?
Mentioned in this project guide: