
Whether you’re looking to repair an existing flat roof that’s a bit worse for wear or building a brand new one, waterproofing your flat roof is the best way to protect it from the elements.
This way, you’ll prevent any unwanted leaks, cracks and other damage. And the best way to do it quickly and efficiently is to use roof seal.
The good news is:
Installing liquid roof coating is a straightforward enough process. So, you don’t need to hire any contractors. You don’t even need to be a highly experienced DIYer.
Don’t believe us?
Read on to find out how to install roof seal liquid roofing membrane.

Table of contents:
How to install roof seal
Before we go over each step of the liquid membrane roofing process, we should point out that it’s likely to be slightly different from manufacturer to manufacturer.
For instance, some products need only a single coat, whereas others might require two coats for optimal performance. So, it’s important that you read the manufacturer’s instructions carefully for the best results.
Once you’ve done that, it’s time to get to it!
Unless otherwise specified, all you’re going to need is:
- Roller
- Brush
- Roofing spatula
- Reinforcing mat or fibreglass
- Scissors
Step 1: Prepare the roof area
Clean the roof area thoroughly, making sure there’s no dust, debris or loose older coating bits and pieces. Pay special attention to any oil or grease stains, using either hot water or solvent to get rid of them.
If you’re waterproofing a brand-new flat roof, keep in mind that concrete and mortars must be at least 28 days old before you can proceed.
Any surface area which is not going to be treated will have to be protected with fully bonded masking tape or protection film.
Step 2: Fill any minor cracks
Use liquid roof sealant to fill any small cracks, holes or edges of up to 2mm. The sealant, which is usually included with most liquid roof membrane kits, will provide extra support around various roof elements such as air vents.
Once you’ve finished applying the roof sealant, smooth it over with your spatula to create a level working surface.
Step 3: Apply primer if necessary
This is where things get specific to your chosen roof seal. When working with certain types of surfaces, such as bitumen or roofing felt, you might have to use a primer. If you’re not sure, check with the manufacturer.
Keep in mind that most modern primers are water-based, meaning you can’t use them when the outside temperature is lower than 5°C. You’ll have to wait for the primer to be completely dry before you can move on to the next step.
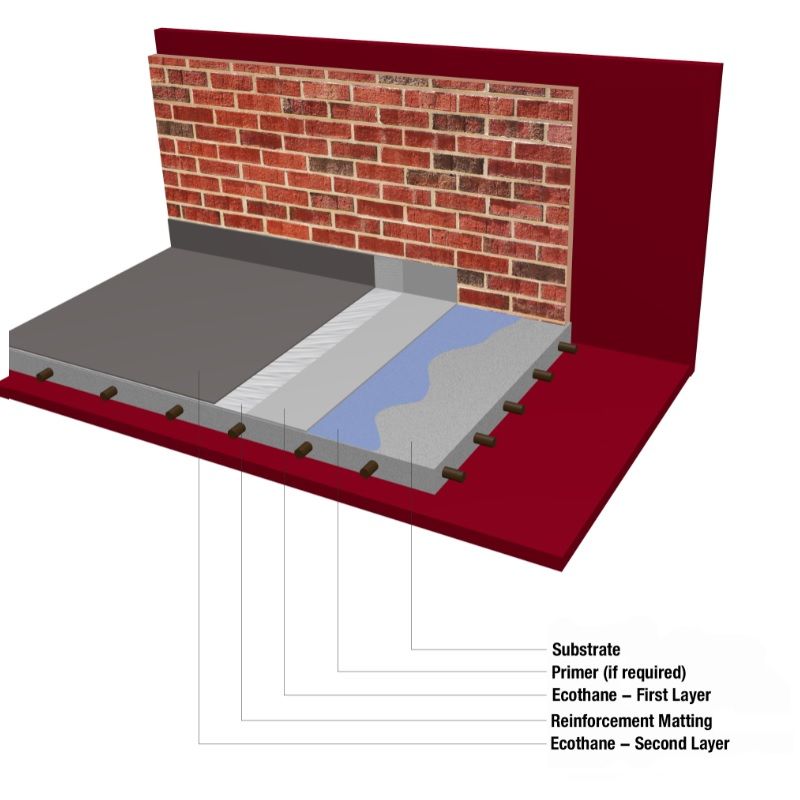
Step 4: Fit reinforcing mat/fibreglass (optional)
At this point, you can use a reinforcing mat or fibreglass to bridge gaps and protect the edges of your roof as well as any seams or problem areas.
It’s a good idea to stir the coating carefully as soon as you’ve opened the container. Then, apply a single coat of roof seal along these problem areas, lay the reinforcing material on top and press firmly.
Next, cover the reinforcing mat or fibreglass with a second layer of liquid roofing membrane.
Step 5: Apply liquid roof membrane
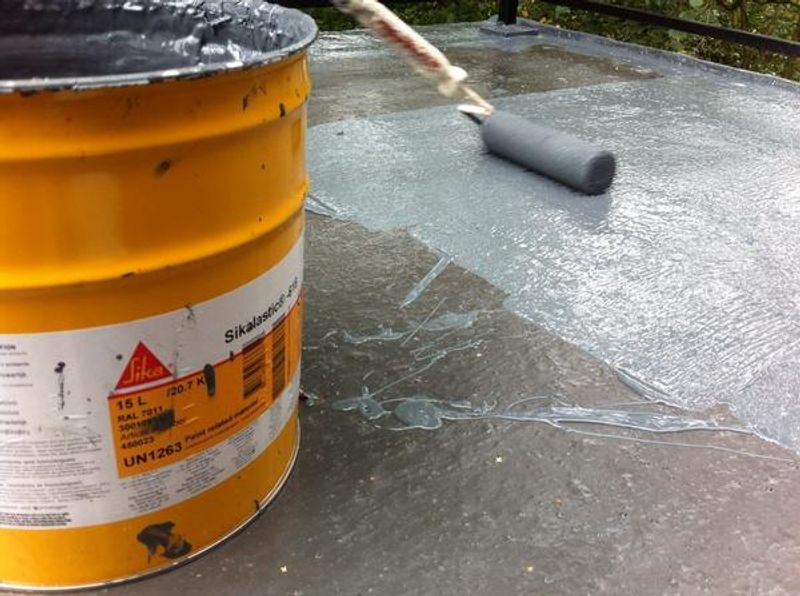
Use the roller to apply a 1-2mm thick coat of roof seal across the entire working area. You’ll need to work fairly quickly because the coating will begin to cure as soon as you’ve opened the container.
Although this is likely to vary ever so slightly depending on the product, the type of surface you’re working with and whether or not you need to apply two coats, the general rule of thumb is that the coating should be applied as evenly as possible at 1m² per 1L at 1mm.
Now:
If you’re using a one-coat liquid membrane, you’re all set to enjoy your new roof! Just make sure you don’t walk on it until the coating is fully cured.
In contrast, if you’re using a two-coat product, you have one final thing to do. Allow for a sufficient amount of time for the first coat to dry. Again, exactly how much you have to wait will vary depending on the product itself, the roofing surface and the weather – but it’s likely to be anywhere between 6 and 24 hours.
Once you’re satisfied the first coat is sufficiently dry, simply apply the second coat. We recommend that you do this in the opposite direction from the first one to ensure good coverage.
That’s it – you’re done! The coating will be fully cured within 72 hours of application.
Final thoughts
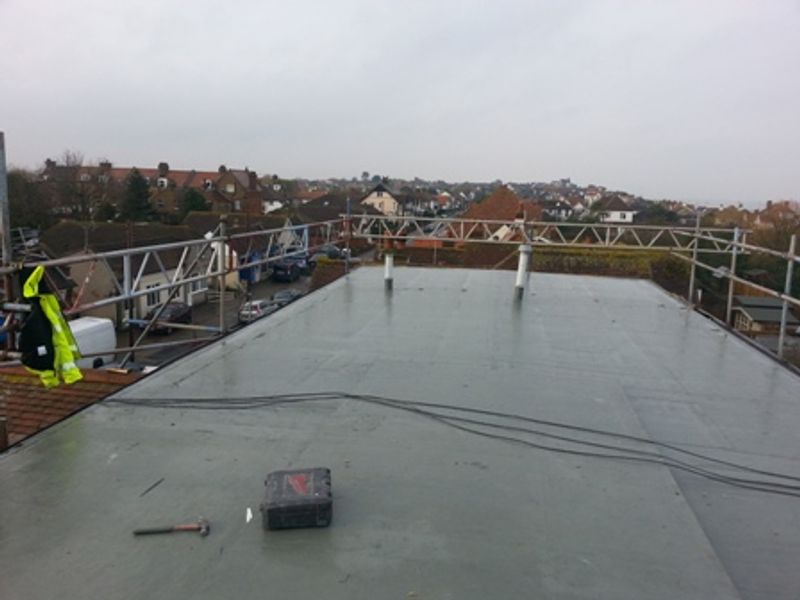
Sealing your roof is a great way to provide protection from the elements and make sure it won’t need any major repairs for many years to come.
In fact, most roof seal liquid membranes available on the market come with a manufacturer’s guarantee of anywhere from 10 to over 25 years, so they’re an excellent long-term solution.
What’s more:
You shouldn’t be afraid to install liquid membrane roofing by yourself. It’s a simple enough process which requires no professional tools or equipment and very few DIY skills.
Take the necessary safety precautions, and you’ve got this covered!
Was this guide useful?
Mentioned in this project guide:


