
Breathable roof membranes are an essential part of your roof. You normally install them under your roofing tiles or slates as a vapour permeable barrier. This means that they allow moisture out, but keep water from getting in. Their main purpose is to reduce the risk of mould, rot, and warping caused by water ingress and condensation. In this guide, we’re going to help you get to grips with how to install a breather roof membrane in just four main steps.
Table of contents:
- Why do you need a breathable roof membrane?
- How to install a roof breather membrane
- 1. Install an eaves support tray
- 2. Lay the breather membrane
- 3. Leave any draping
- 4. Lay the rest of the breather membrane
- Other considerations
- Final thoughts
Why do you need a breathable roof membrane?
Breathable roof membranes are crucial in pitched roofing projects. They prevent the build-up of condensation, which can lead to damp, mould and rot. Their job is to move moisture out of the roof space while still preventing rainwater ingress, ensuring that the roof space stays dry.
Without a breather membrane, moisture will pass through the external roof material and build up on the insulation layer. This makes the insulation ineffective as the water could enter the roof space, causing decay, damp, and a hefty repair cost.
Put simply, the breathable roof membrane:
- Lets moisture out of the roof
- Does not let moisture in
- Keeps the roof dry
- Prevents condensation, mould, rot, and warping
- Protects the other layers and structural elements that make up a pitched roof
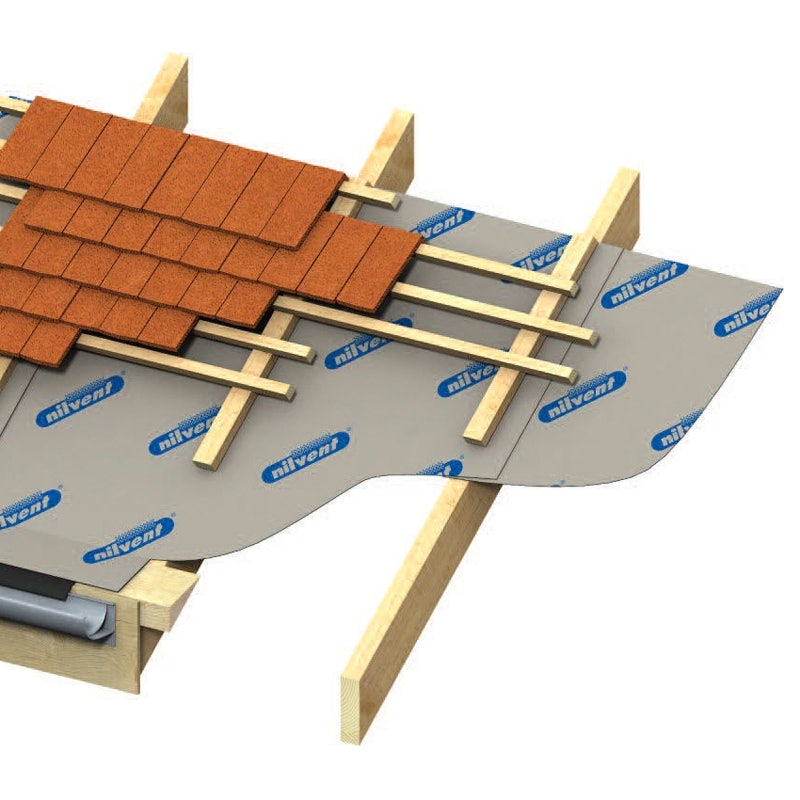
How to install a roof breather membrane
Installing a roof breather membrane is a relatively straightforward process, but it is important to follow the steps carefully if you want to create a surface that is breathable and secure.
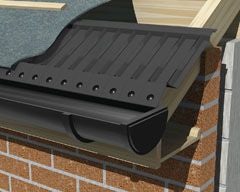
1. Install an eaves support tray
Firstly, it is essential to have an eaves support tray or a UV-resistant membrane. Fit this along the eaves, with the bottom edge extending into the gutter.
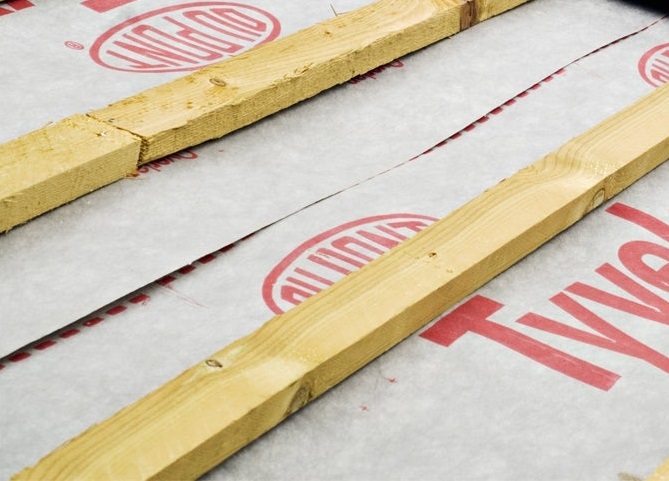
2. Lay the breather membrane
Next, lay the breather membrane parallel to the roof eaves – normally, the printed side should face outwards. Make sure the bottom of the membrane is overlapping the eaves support tray or UV-resistant membrane by at least 150mm. Do not let it overlap so much that it will still be exposed when the roof tiles are laid.
3. Leave any draping
The breathable roof membrane should drape slightly between the timber rafters or counter battens, meaning there is a dip of around 10-15mm. Once that’s done, add temporary clout nails to the top of the membrane. Try to ensure they are above the line at which the second length of the membrane will overlap. When the tiles or slates are fitted they will provide a more secure fixing.
4. Lay the rest of the breather membrane
Continue laying the lengths of the breather membrane, working up the roof. Each manufacturer should state the amount of overlap required between each length of the breather membrane. If the overlap does not coincide with a timber batten, you can install an additional batten to ensure the overlap remains. This will also prevent the tiles from touching the membrane. You can add these across the top of the underlay. Retain the drape of the underlay to allow the rainwater to pass down the surface of the membrane.
Other considerations
Ridge ventilation
If the roof includes ridge ventilation, the breather membrane must be cut on each side of the ridge. This is to ensure the path of ventilation is still clear. If there is no ridge ventilation, the breather membrane should go over the ridge. It should overlap each side of the ridgeline by the required amount.
Roof valleys
On roof valleys, fit the breather membrane so that it extends by a minimum of 300mm on each side, measuring from the centre of the valley. At abutments, you should turn up the underlay by at least 100mm to create a secondary water-resistant barrier.
Roof verges
With wet verges, or verges that use mortar bedding as fixings, the breather roof membrane needs to lap onto the masonry by at least 50mm. When used with dry fix verges, you need to extend the membrane past the face of the gable.
Penetrations
For windows, soil pipes, and other penetrations, cut the membrane and turn it so that it folds up against the penetration. If working with circular penetrations, cut the membrane with an Asterix shape to create flaps to fold upwards. Tape the cutout sections to the penetration to prevent them from folding back down if you need to.
Final thoughts
Now you know the importance of fitting a breather membrane on your roof. To help you complete your project, we have a number of breathable roof membranes available, from Tyvek Supro breather membrane, to Cromar’s breathable membrane, TLX breathable pitched roofing felt, Klober Permo and more.
If you have any queries or project-specific questions, feel free to call our team of experts on 01752 692760 and we will be more than happy to help.

Was this guide useful?
Mentioned in this project guide:


