Lead flashing creates a watertight and durable seal between two sections, for example, the roof and a wall, or the roof and a chimney. It has been an important part of roofing projects for hundreds of years. But why is lead flashing important, and how do you cut and fit lead flashing? This guide explains in more detail and answers any questions you may have. Don’t hesitate to get in touch if you have any further queries.
Table of contents
- What is lead flashing?
- How to cut lead flashing
- How to fit lead flashing
- 1. Remove mortar
- 2. Measure
- 3. Cut lead to size
- 4. Shape the lead flashing
- 5. Fit ledge straps
- 6. Install the flashing
- 7. Install fixings
- 8. Use lead dressing tools
- 9. Secure the chase
- 10. Apply patination oil
- Final thoughts

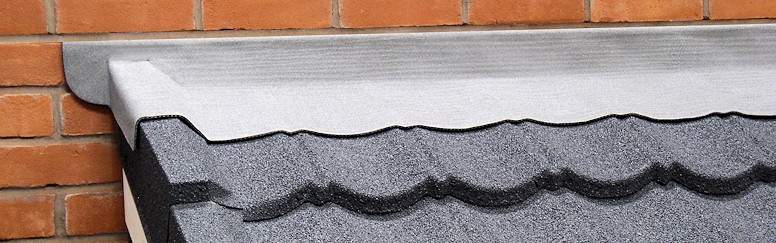
What is lead flashing?
Lead flashing is a piece of milled lead that sits between joints to create a durable and weathertight seal. Builders often install it on the following applications:
- Where a roof meets a wall
- On a roof valley
- Around other penetrations such as chimneys, pipes, and around window and door openings.

Lead is extremely durable, flexible, and doesn’t corrode easily, which is why it is a popular choice for flashing. Milled lead is especially suited to roofing, as you can easily mould it around any complex shapes or structures without it cracking or compromising its strength and durability.
Here at Roofing Superstore, we have a wide range of lead rolls with various thicknesses, suitable for a number of different applications – take a look at our guide to lead codes for more information.
How to cut lead flashing
If you want to save on time and labour, Roofing Superstore offers a cut-to-size service for lead flashing. This also reduces additional waste that would otherwise accumulate when cut on-site.
However, if you need to cut the lead flashing yourself, it is important to cut it correctly to ensure it sits tightly on the roof and works effectively.
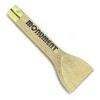
The most effective way of cutting lead flashing is to use a sheet lead knife. This is a sharp and durable tool which does not become blunt very quickly. It also features a hook at the end of the blind to help score metal sheets.
If you don’t have a lead sheet knife, a normal utility knife can be used, but the blade will become blunt quite quickly. Using the knife, you can either score an accurate and straight line across the surface of the lead flashing with a guide, before bending it to break it or cut through the flashing.
Alternatively, aviation snips can be used to cut lead – they have been manufactured specifically to create sharp cuts through durable metal sheeting.
Key takeaways:
- Use a sheet lead knife if you can
- Use a guide to mark out a straight line
- Score down the line with the knife
- Bend the lead flashing to break the cut length or cut through it
How to fit lead flashing
Whether you’re looking to fit lead flashing on a pitched roof, how to fit lead flashing on a conservatory, or how to fit lead flashing on any other application, it is crucial to ensure the lead flashing is fitted properly in order to create a weathertight and durable cover.
Before we get started, here are some key terms you’ll need to be familiar with:
- Mortar: Composite mixture that bonds brickwork together or masonry to a surface
- Ledge straps: Thin, often scrap pieces of lead that anchor the flashing in place
- Chase: Also known as a reglet, this is a horizontal groove cut into the brick for flashing to slot into
1. Remove the mortar
When fitting flashing where a flashing product hasn’t previously been installed, generally speaking, you will need to remove the mortar from the brickwork. This applies especially when installing flashing between a wall and a roof, above windows and doors, and in other situations involving brickwork.
You should ideally remove the mortar from the brickwork course that sits around 150mm above the roof. Use a mortar raking desk or similar tool for best results. You can also do this with a hammer and chisel. You should remove the mortar to a depth of around 15-20mm. For larger quantities, you can use an angle grinder.
2. Measure
Measure the distance from the chase depth (the amount of lead that goes into the brickwork), the distance from the chase to the join in the roof, and then the distance from the join across the roof covering or the second surface.
The recommended overlap from the join to the end of the flashing should be around 150mm.
3. Cut lead to size
Now cut a piece of milled lead to around 1.2m long, with the measured distance as the width of the lead. If it is any longer than 1.2 metres long, shaping the lead will be harder and more likely to split over time.
4. Shape the lead flashing
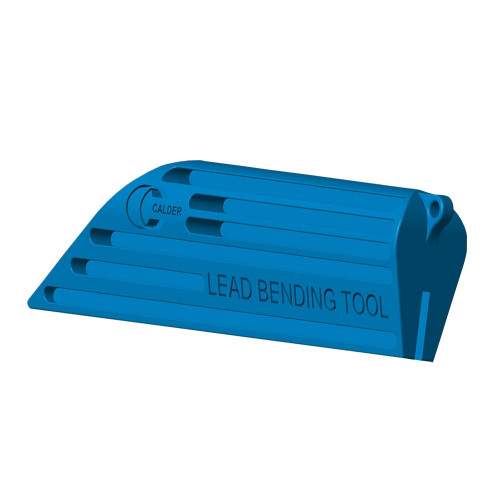
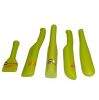
We recommend the following lead tools for shaping and bending your flashing
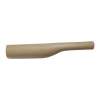
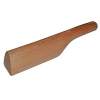
- A lead dresser smooths out any wrinkles or folds in the lead sheet
- Bossing mallets and lead chase wedges ensure it fits right into the brickwork and corners
- Lead bending tools bend the sheeting into the correct shape
- Lead bossing tools shape corners and work the lead around complex structures
Using the lead dressing tools and the measurements of the desired location of the flashing, bend and fold the flashing into the desired shape. If needed, use a straight edge to help pull the flashing into the correct shape.
5. Fit ledge straps
Once you have shaped the lead correctly, fit ledge straps onto the nails that are holding the tiles that will be covered by the flashing in place. The ledge straps should be around 600mm apart, but this varies slightly according to the location of the pre-existing nails. The ledge straps provide resistance to help prevent the flashing from sliding down the roof over time and also minimise uplift from strong winds.
6. Install the flashing
Now place the folded lead flashing into place. Each piece of lead flashing should overlap the previous section by a minimum of 100mm, to ensure that it remains weatherproof and does not result in leakage over time.
7. Install fixings
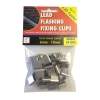
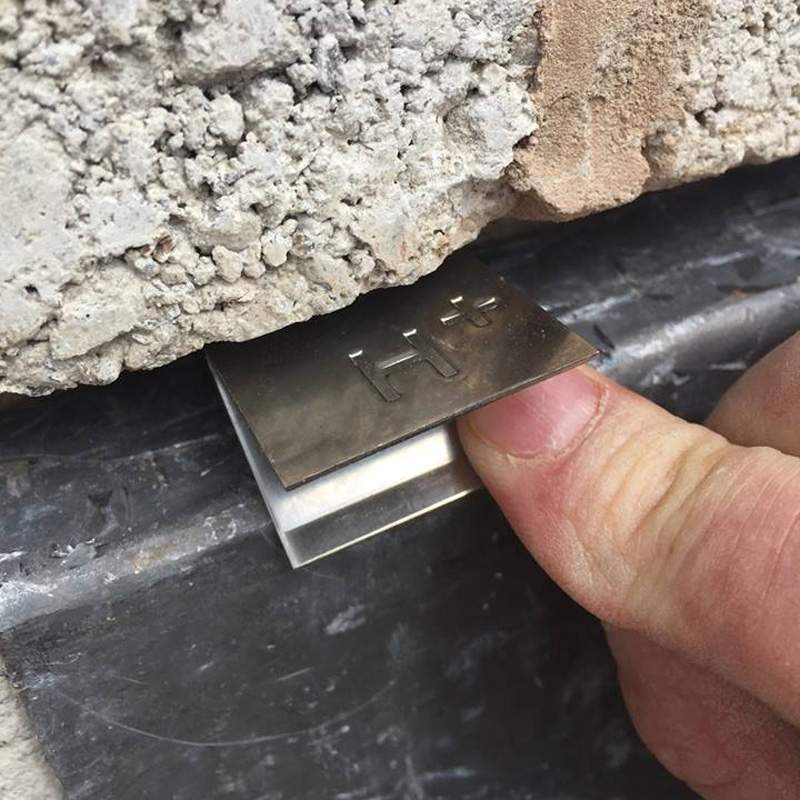
You can now install the fixings. Traditionally, you can roll up small pieces of scrap lead and fit them into the chase between the lead and brickwork by driving them in with a hammer. These pieces of scrap metal should be situated at roughly 450mm intervals across the length of the flashing. Alternatively, use hall clips to provide extra security and stability. Although they cost more than scrap metal, they are machine-made and are reliably durable. They are also quicker and easier to fit.
8. Use lead dressing tools
Now, with the lead tools, fit the lead flashing tightly and dress it into all crevices and corners, and into the brickwork. Once this has been done, fold the ledge straps back up and over the edge of the flashing, tapping it down onto the flashing so it acts like a clip.
Lead flashing should extend over surfaces that have an edge. For example, above a porch, or an extension that doesn’t run the full width of the house. Cut the angle of the end of the roof into the lead, and then beat the remaining lead over the edge of the surface, folding it around and down with lead dressing tools.
If working on a roof with profiled tiles, you will need to use lead dressing tools to fit the lead flashing up and down across the valleys and troughs of the tiles. Alternatively, you can use the base of a hammer to do this.
9. Secure the chase
Now you need to secure the chase – do this with either traditional mortar or a lead chase sealing product.
Before adding the mortar or sealing product, use a wedge to push the lead flashing down within the chase. This will help provide a key to allow the mortar to bond and help it stay in place for longer.
The next step is pointing. Make sure you push the mortar or sealant all the way back into the chase so that it remains tight and waterproof. A very common issue is that if you don’t push the mortar back all the way, you could end up with leaking and loose flashing. Once you’ve applied the mortar, wipe off any excess mortar sitting on the face of the flashing with a cloth.
10. Apply patination oil
The final step is to rub patination oil onto the lead flashing. The patination oil will stop streaking and carbonisation from occurring, ensuring the lead flashing retains a clean look over time.
Final thoughts
You should now feel confident enough to fit your lead flashing. By having all of the necessary tools and following these steps carefully, cutting and fitting lead flashing should be a breeze. But remember, if you’re still unsure, we always recommend getting a professional to help you. If you’ve decided to go ahead with your project and need a tailored quote, please get in touch with us on 01752 692 750 and we can even provide you with help and advice on the materials you’ll need.
Was this guide useful?
Mentioned in this project guide: