When fitting a polycarbonate roof, you need to know the why, what and how-to for a successful result. We’ve dedicated this guide to help you learn how to fit polycarbonate roofing to ensure you have the knowledge and tools you need for this project.
Table of contents:
- What is polycarbonate roofing?
- What polycarbonate sheet is right for my project?
- What you will need
- How to remove polycarbonate roofing sheets
- How to fit polycarbonate roofing sheets
- Step-by-step polycarbonate roof sheet installation
What is polycarbonate roofing?
Polycarbonate roofing sheets are a type of plastic roof sheet used in many different areas. Popular locations include greenhouses and conservatories due to the lightweight properties that make them super easy to handle – and we love a product that’s easy to handle!
Polycarbonate sheets can also be an alternative to glass in, for example, skylights in a home. When you couple the lightweight properties of polycarbonate roof sheets alongside their strength and transparency, you have a fantastic result that can provide a little more insulation. Certainly ideal for those who love a cosy, toasty property setting.
For as good as the material is, how long does polycarbonate roofing last?
The ideal time you can expect it to last is a minimum of 10 years! However, do not put heavy weight on it. Polycarbonate roofing is not designed to support heavy weights, including that of a person.
What polycarbonate sheet is right for my project?
You’ve got your project plan in mind for your ideal polycarbonate roofing systems in place. Now, to find out what polycarbonate roofing sheet is best for your project. Here are some of the advantages you can see when it comes to different types of polycarbonate roofing:
| Product type | Application | Benefits |
| Flat polycarbonate glazing roof sheet | •Areas where security is vital •Bus shelters •Replacement windows | •Secondary glazing •Security •UV protection on both sides •Interior and exterior use |
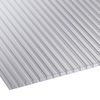
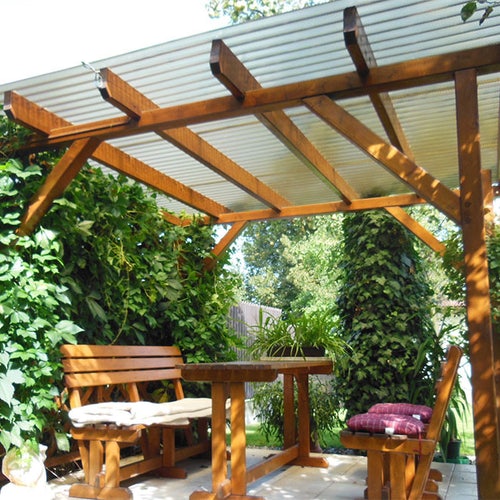
| Corrugated polycarbonate roof sheet | •Greenhouses •Carports •Canopies •Awnings •Roof and wall cladding | •Strong •Impact resistant •Maximum light transmission and clarity •Long-lasting •Insulation •Can be used as complete roof and wall cladding material •Weather resistance |
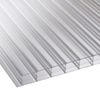
| Twinwall polycarbonate roof sheet | •Hailstone protection •Protection against vandalism •Accidental damage protection | •Strong •Lightweight •UV protected •Impact resistance •Thermal efficiency •Simple to install •Removes the need for lights in the property (up to 82% light transmission) |
| Triplewall polycarbonate roof sheet | •Conservatories | •Allows greater space between glazing bars - more light ingress •Rigid •Insulation - better properties than double glazing |
| Multiwall polycarbonate roof sheet | •Industrial roofing •Agricultural buildings •Garden •Garages •Carports •Verandas •Canopies •Greenhouses | •200x higher impact resistance than glass •Insulation - can achieve a U value of 1.6 which can reduce heat loss and energy bills •Alternative to artificial lighting - Another reduction to energy costs •Lightweight, but high strength •Easy to handle and install •Cost-effective •Fire resistant - Self extinguishing •Enhanced spanning capabilities |
What you will need
Before you get started, here’s what you need to ensure a successful installation of your new polycarbonate roofing system!
- Polycarbonate roof sheets
- Compatible glazing bars (that can withstand the weight of the sheets and weather elements)
- Polycarbonate safe sealant
- Polycarbonate safe gaskets
- Screwdriver
- Screws
How to remove polycarbonate roofing sheets
You needn’t worry too much when it comes to removing the old polycarbonate roofing. The screws might be the most difficult to deal with, but you can easily cut the sheets and pull the panels off without an issue. For removing polycarbonate roofs on conservatories you will need to do the following:
Step one: Remove the gaskets
Remove the rubber gaskets. These are sat between the aluminium glazing and the glass, usually fixed using a screw. Make sure to replace the gaskets with new ones when you replace the panels.
Step two: Remove the end caps
Remove the glazing bar end caps. These are typically found covering the glazing bars and fixed by a screw. Remove the screw and the end cap should reveal the inside of the glazing bar/glazing bar cap combination.
Step three: Remove the glazing bar caps
This step is usually the most difficult – forcing up the glazing bar cap. You will have to be very careful during this stage. With your screwdriver or special glazing bar cap removal tool, cautiously remove the plastic cap apart from where it is joined to the toothed aluminium glazing bar; making sure you hold the polycarbonate panels in place.
Step four: Extract the panels
Now you can slide out the polycarbonate roof panels with ease.
Note: If silicone or adhesive has been used to secure the panels in place, you will need to be more careful with the removal.
How to fit polycarbonate roofing sheets
Knowing how to fit polycarbonate roofing can really make the process run smoothly.
How to cut polycarbonate roofing
Buying cut-to-size sheets can make your life much easier! With pre-cut polycarbonate roofing sheets, you can install the product as soon as possible. You can also benefit from not having to deal with the mess after cutting the sheets. Use our cut-to-size service to have polycarbonate roof sheets cut to your requirements.
However, if you choose to cut polycarbonate roofing, there are two ways you can do so:
The first method can be done with a sharp knife tool, cutting in the same direction the grooves go rather than across.
The second method, if you choose to cut across the grooves, is to cut using a fine-tooth circular saw or handsaw.
Note: If cutting curves in particular, regardless of the method chosen, use a fine-tooth jigsaw.
Whichever method you choose, ensure the polycarbonate sheets are cut into small, manageable lengths (around 700mm wide). Using multiple sheets can make for a more secure fitting. What’s more, cutting the sheet into smaller sizes can make reaching over the roof easier when it comes to snapping the sheets in place on the glazing bar.
Once the cutting is complete, remove the dust from the sheets (this can be done using a vacuum) to ensure they are clean and clear of debris before installation.
Now onto the exciting part – roof sheet installation!
Step-by-step polycarbonate roof sheet installation
Note: Make sure that there is a 5° slope when fitting the sheets – this will allow rainwater runoff.
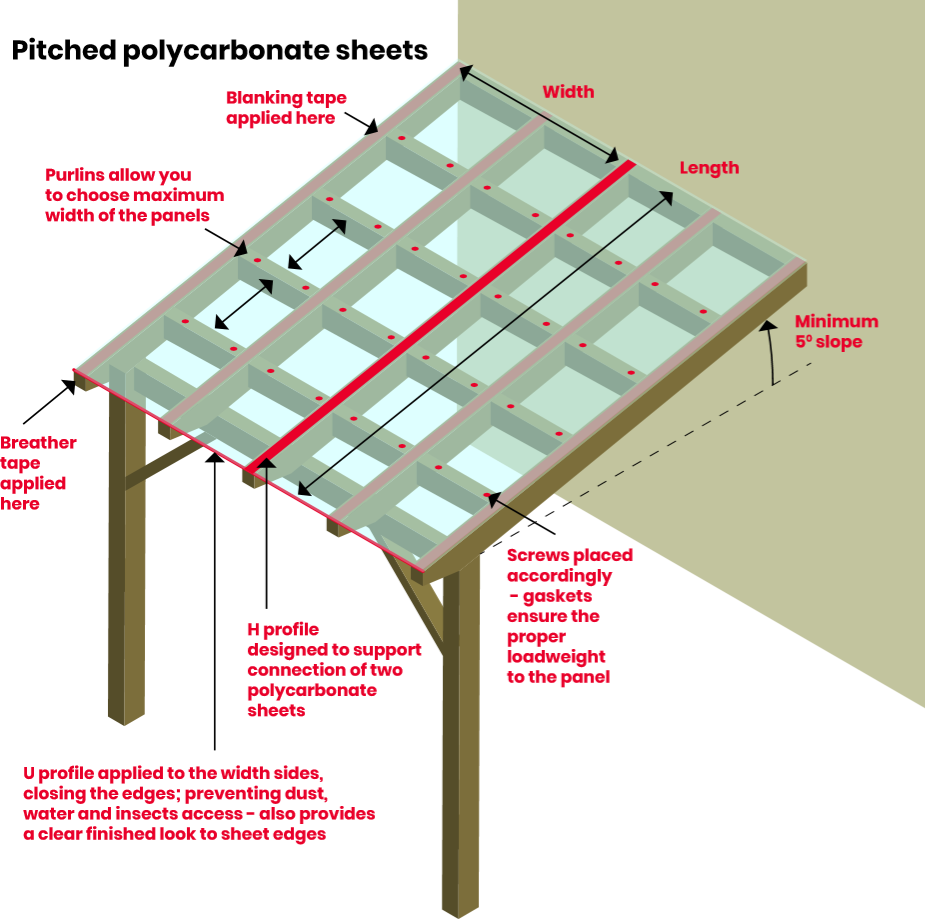
Step one: Orient the polycarbonate sheet
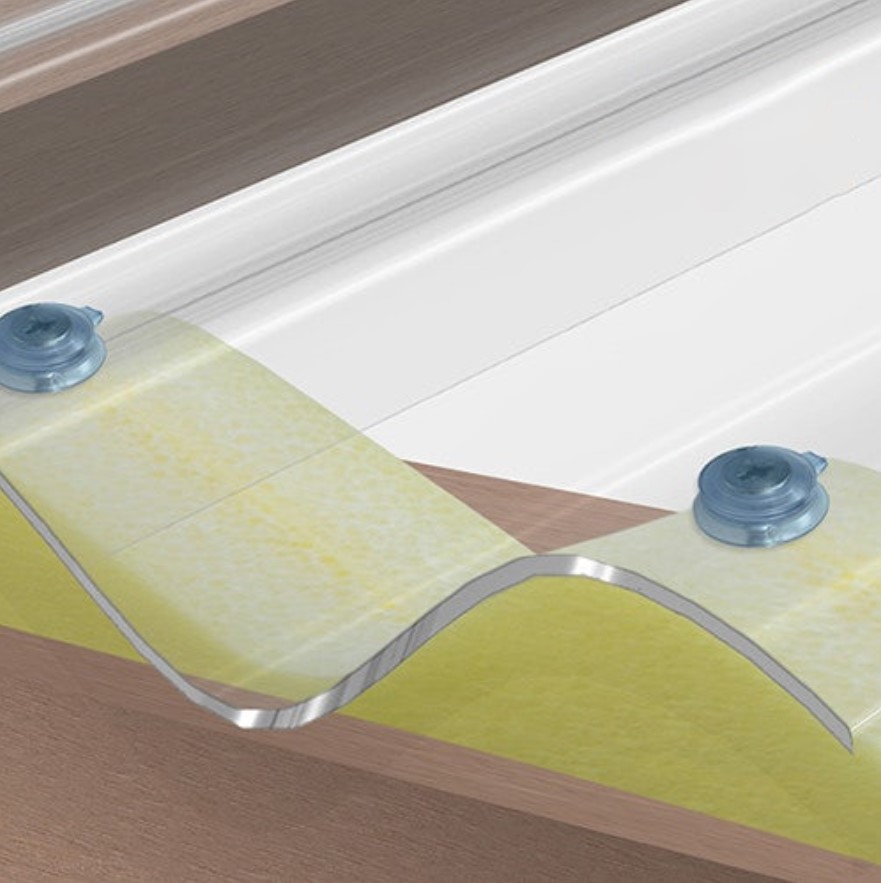
If your polycarbonate roofing sheet has a UV-protected surface, this will typically be marked on the film of the sheet to show the UV side. You will need to position the UV side to face the outside. The protective film should be peeled back from the edges before installation to ensure it does not get installed alongside the sheet.
Note: Use materials that will not harm the polycarbonate when it comes to the sealants and gaskets. Low-modulus neutral silicone is a no-no!
Step two: Seal and apply tapes
When sealing polycarbonate roofing sheets, apply suitable tapes, closures and sealants to prevent the ingress of moisture dust and insects – blanking tapes are to be applied to the top and breather tape is to be applied to the bottom end of the sheet. The breather allows air to move through the space freely; thereby reducing the chance of condensation.
Note: The U profile is also used to support unwanted dust, water and insects.
Step three: Secure & install sheets
Make sure they are secured in place but not too tight! If installed too securely, it can prevent thermal expansion and contraction, meaning the installation can have all sorts of problems. Install the sheets with the ribs running in the direction of the slop. Clamp at least one rib in place in the glazing system.
Note: As you drill the sheet, make sure it’s supported securely underneath via the H profile and don’t drill within 4mm of the edge of the sheet.
Along the eaves purlin, you will need to place additional fixings – one fixing per sheet width, centrally located between glazing bars. This is to prevent wind uplift and downslope slippage because of thermal movement.
There you have it! A grand, newly installed polycarbonate roof!
Want to know more about other types of roof sheets? Check out our guide to work out which roof sheet is best for you!

Was this guide useful?
Mentioned in this project guide: