
You’re checking out your roof, looking for any damages to the tiles or chimney and there it is. You discover your roof vent turbine has stopped spinning. How could this happen? Well, here’s what could have caused the issues with your turbine roof vent and how you can solve the problem as soon as possible.
Table of contents
- Why is my whirlybird not spinning?
- How do I perform a complete roof turbine replacement?
- What is a roof turbine vent?
Why is my whirlybird not spinning?
A roof wind turbine can stop spinning for a few reasons. The more common ones are typically minor issues, while more problematic issues can result in needing a replacement.
Here are the following issues that can occur with your roof vent and what you can do to fix them.
| Reason for broken vent roof turbine | What to do (Important: Make sure the power to your roof turbine is turned off and the vents are not spinning before performing any observations or repairs) |
| The vents are rusted. | Replace these as soon as possible as they can continue to stick in place and not allow the spinning motion to occur. |
| The vents are obstructed (e.g. by leaves, dust, ice, etc). | Remove anything that is stopping the vent turbine from moving. |
| The connections between the turbine vents to the standpipe are loose. | Use rust-resistance screws and nails to secure the sections together and seal the heads of the fixings with roof cement or silicone for a smart finish. |
| The joints of the turbine vents are not sealed; water is leaking through and causing rust (unsealed vents can occur because they had no sealing during installation, or the sealant has worn over time). | Seal the joints using silicone caulk or roofing cement, making sure any sealant wearing away is also redone to ensure leaking is prevented. |
| The flashing is faulty (loose). | Remove to check for further damage if the flashing initially looks good as this could hide the problems (see below for what to do if damages are apparent). If the flashing is in good condition, re-attach it then secure all edges and joints with caulk or roofing cement. |
| The flashing is damaged (corroded, deformed etc). | Any damage to the flashing means it will need to be replaced as soon as possible to prevent water leaking. Failing to do so can mean water leaking into the roof of the property, while the vent can be at risk of rust. |
Although minimal maintenance is required for these types of spinning roof vents, issues can appear and hinder the performance of the roof vent’s turbine or even allow water to leak in from the attached location. So, checking it every so often is important to ensure it’s working as intended. In fact, the more you take care of your turbine roof vent, the less likely you will need to replace it.
If you are not familiar with turbines, seek out a professional to help you find the issue and help you repair problems they find.
How do I perform a complete roof turbine replacement?
If you do need a full replacement, here are steps to help you ensure your new turbine is in place as soon as possible.
What you will need
- New roof vent turbine
- Ladder
- Tape measure
- Crowbar
- Screwdriver
- Roofing cement
- Trowel or scraper
- Sheet metal screws
- Clear silicone caulk
Important: Make sure your new roof turbine vent has the correct inclination. You can adjust this accordingly, but it helps to have a turbine that will sit straight up soon after installation. Measuring the existing roof turbine can be a big help.
Step one: Turn off the power to the roof vent wind turbine and remove the shingles etc covering the flashing at the base of the turbine currently fitted. This should make the mounting nail heads visible. Using a crowbar, pull out the mounting nails from the roof sheeting and lift the turbine away from the roof to expose the vent hole to the attic.
Step two: Using your tape measure, measure the hole for the vent to confirm its diameter (typically 12 inches or 14 inches) and make sure the new turbine fits in place.
Step three: As a temporary measure, sit the new turbine base over the hole for the vent. Loosen the clamping screws at the base, rotating the turbine stack to a vertical position. It should extend a little past the roof’s pitch. Then tighten the clamping screws and remove the base of the turbine.
Step four: Using a trowel or scraper, apply roofing cement to the bottom side of the turbine base flashing. Then slightly lift the shingles on the side of the vent hole, nearest the peak of the roof, to slide the flashing of the turbine base beneath them. Align the base to ensure the vent stack is vertical and centred over the vent hole.
Step five: At each corner of the turbine base, nail the base down with each nail sitting at least one inch from the edge of the flashing and coat each nail head with clear silicone caulk.
Step six: Apply roofing cement to the underside of the shingles overlapping the flashing. Press them down to ensure they bond to the flashing.
Step seven: Align the turbine vent on top of the vent stack with the mounting holes in the turbine ring with the stack’s holes. Secure these down using sheet metal screws.
Step eight: Seal exposed edges of the flashing using clear silicone caulk. You will also need to seal the joint between the flashing and the stack, the joints between the stack sections and the vertical seam in the stack sections.
Tip: If you desire a neat appearance for your roof, painting the base can help make the vent look more appealing.
There you have it! You’ve completed your new roof turbine vent installation.
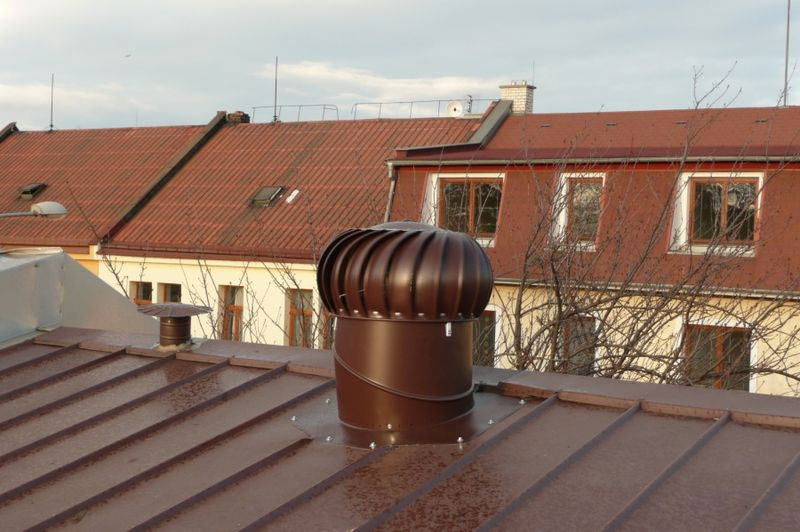
What is a roof turbine vent?
Turbine roof vents, also known as a whirlybird roof vent, are a popular modern ventilation system. They can be used to minimise energy bills and reduce the accumulation of ice in colder temperatures. They’re also low maintenance.
You can find out more about what a whirlybird turbine roof vent is via our vent turbines range as well as why you should install roof vents via our guide.

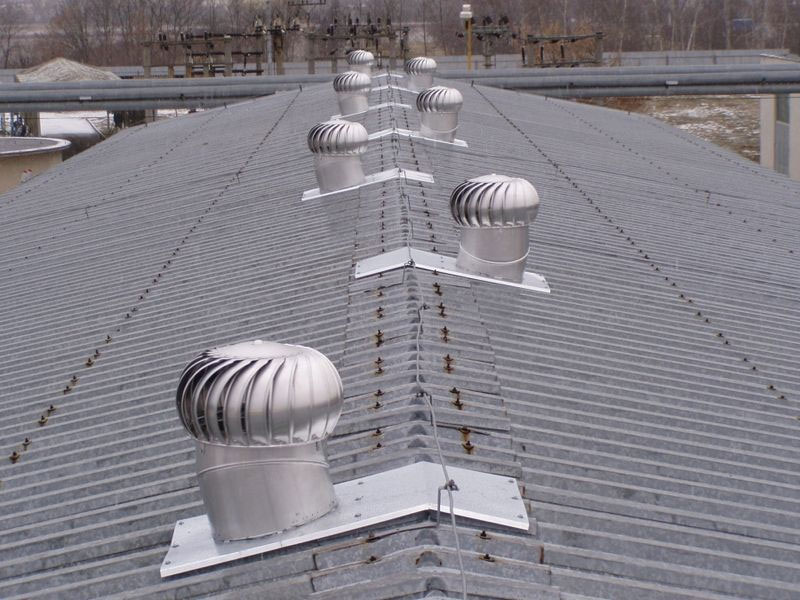
How does a whirlybird work?
The roof turbine vent is designed to use the wind to rotate ventilated air in and out of a roof space. This is a great, eco-friendly source of ventilation which also enables you to save costs on your electrical bills. If you’re already planning for a turbine roof vent installation but aren’t sure how many vents you need, you can find out how to calculate how many turbine vents you need via our guide.
For additional support, don’t hesitate to contact our friendly customer service team for advice. If you want to opt for a different type of roof vent but aren’t sure which you might want, you can check out our roof ventilation buyer’s guide to find out more about the different vent types for your roof.

Was this guide useful?
Mentioned in this project guide:


