Damage has occurred to your roof and now you’re stuck with a leak. What’s your next move?
Tarpaulin can be a great solution to support the protection of your home as you wait for repairs. In this buyer’s guide, you can find out what tarpaulin is and how to apply it to your own property in times of need.
Table of contents
- What is tarpaulin?
- What are the benefits of tarpaulin?
- Types of tarpaulin
- Tarpaulin sizes
- How to fix tarpaulin to a roof
What is Tarpaulin?
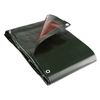
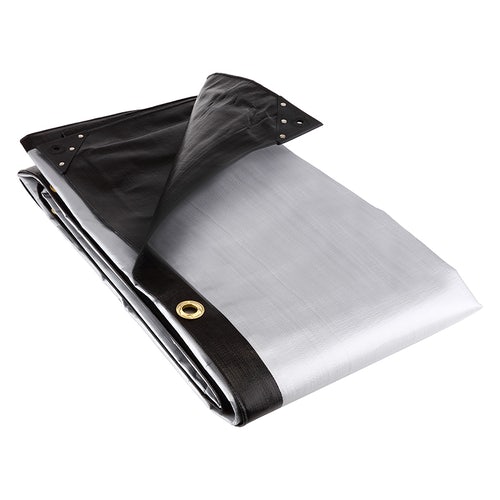
Tarpaulin, also known as a tarp, is a product used as a temporary way to protect your roof after damage. It’s designed to stop water from getting inside the property.
So, if you are someone waiting for roof repair weeks or months ahead, this solution might be for you. Especially when you have long waiting times.
Although tarpaulin’s main use is for external areas of a project, you can apply it to other areas as well. For example, a tarpaulin can work as a protective material. This could be from paint, plaster and other indoor materials that you might not want affecting the interior look of your property.
What is GSM in tarpaulin?
GSM is an abbreviation for ‘Grams per Square Metre’. This is in reference to the weight of the material used in the manufacturing of tarpaulin.
This type of grading is common among many suppliers. It will become familiar to those who wish to browse tarpaulin.
Check out our range of tarpaulin to see what you can use for your roof or other application.

What are the benefits of tarpaulin?
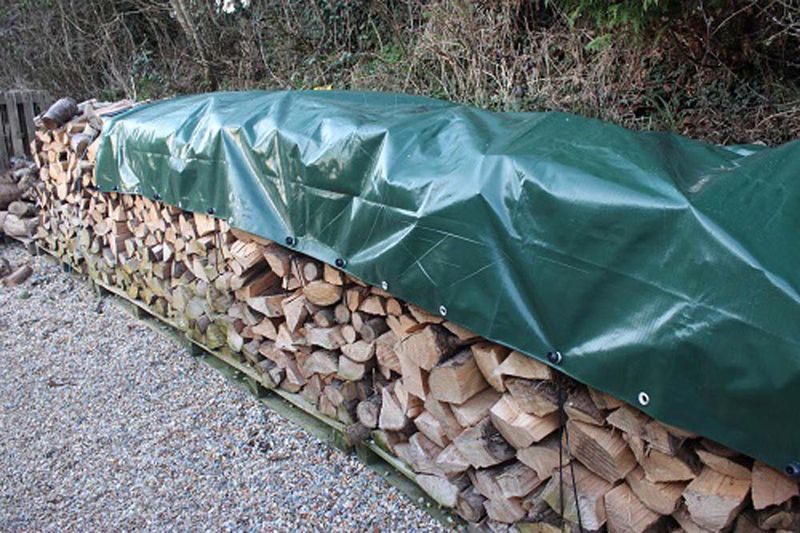
Tarpaulin comes with many benefits. Protecting your roof against water is one of many.
Alongside the rain, the tarpaulin can protect against wind or sunlight. So, regardless of where you place the tarp, there is protection.
Speaking of placement, a tarpaulin is more than temporary roof protection. In fact, you can use tarpaulin to protect brickwork, masonry and more construction-based structures. You can also use it across a damaged skylight if needs be.
The more prepared you are with tarpaulin, the quicker you can get back to living in a normal space. During and after repairs.
Types of tarpaulin
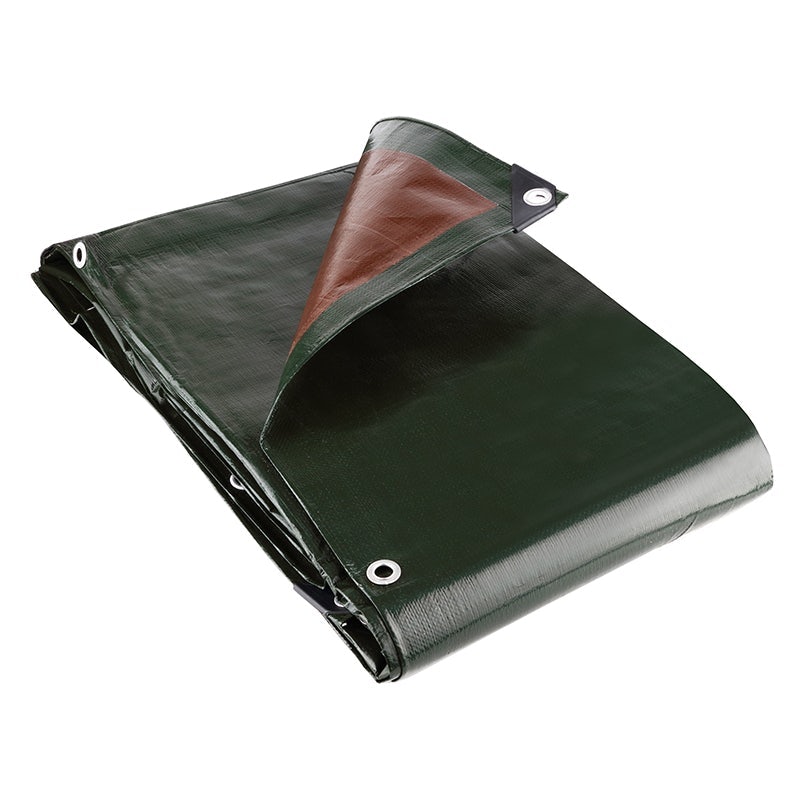
Tarpaulin isn’t exempt from the option of choice. When choosing tarpaulin, know the application you plan to use it in and the weight you will need to suit it.
With any type of tarpaulin, it is important to do regular checks. You must ensure it is performing as necessary and deal with any damages as soon as possible. Here are some of the benefits of the different types of tarpaulin you can choose from:
| Type of tarpaulin | Advantages | Disadvantages | Uses |
| Heavy-duty tarpaulin | •Waterproof •High durability •Rot-proof •Resistant to cold temperatures -20°C •Poly rope around the edge •Woven fabric tarpaulin •Laminated with low-density polyethylene (LDPE) •Shrink-proof •UV inhibited | •Not suited to weak surfaces | •Temporary roof cover •Groundwork covers •Outdoor covers |
| Multi-purpose tarpaulin | •Waterproof •Rot-proof •Resistant to cold temperatures -20°C •Washable •Reusable | •Shorter lifespan •Low durability •Low weather resistance | •Roof •Patios •Brick courses |
| Poly tarpaulin | •Waterproof •Rot-proof •Resistant to cold temperatures -20°C •Cost affective •Multiple application uses | •Shorter lifespan •Low durability •Low weather resistance | •Roof •Broken windows •Brickwork •Foundations •Masonry |
Heavy-duty tarpaulin
The heavier the tarpaulin, the better durability. This has been a known rule amongst those in the industry for many years. As a result, it is highly recommended to use heavy-duty tarpaulin if it can be applied. Especially if the roof needs covering for an extended period of time.
Do remember that if your surface is weak that this could risk the effectiveness of the tarpaulin. So consider heavy only if the surface is suited to such weight.
Multi-purpose
A multi-purpose tarpaulin is typically washable, rot-proof and can be reused. Where the ‘multi-purpose’ comes from is in its uses across projects like; patios, brick courses and other various projects.
A multi-purpose tarpaulin is typically washable, rot-proof and reusable. Where the ‘multi-purpose’ comes from is in its uses across different projects. |This includes patios, brick courses and other various projects.
Unlike heavy-duty tarpaulin, this type of tarpaulin has a higher risk of tears if placed on sharp surfaces. As such, the additional uses alongside the roof can be more appropriate for the use of tarpaulin.
Poly tarpaulin
Manufacturers use low-density polythene to create poly tarpaulin. It’s used to protect applications from adverse wind and rain. This tarp is also resistant to cold temperatures – right down to 20 ° C
As for use, this tarp is usable in various applications. Including brickwork, foundations, masonry and much more.
Tarpaulin sizes
Tarpaulin sizes will affect your decision. So you will need to consider your options carefully. In fact, one of, if not the main factor will be the size of the area you wish to cover. Take total coverage into account in m2. Once you have this, you can begin searching for the type of tarpaulin and the GSM needed.

How to fix tarpaulin to a roof
The following steps are here to help you know how to install tarpaulin onto your roof.
What you will need
- Tarpaulin
- 2 X 4 wooden planks
- Ladder
- Plywood
- Cordless drill
- Galvanised screws
- Tape measure
- PPE
- Broom
- Clear weather preferred
Here is how you can install tarpaulin onto your roof!
Step one: Examine the area that will be covered
Do this by climbing up a ladder to do so. You should also check on the ceiling inside. Looking for any leaks or other damage that might be a problem inside the property.
Please note: When using the ladder for the inspection, do not risk standing on a roof that is too steep or slippery; inspect the roof from the ladder instead.
Step two: Clean any debris from the roof
Clear any branches, leaves and any other debris. Use a broom or similar brush tool. You might need support from another person if any debris is particularly difficult to remove (e.g. heavy branches).
Note: Debris can risk your tarp being damaged, so it is best to remove it as soon as you can.
Step three: Measure the area size of the damage
This will be vital in choosing the tarpaulin type and size for the application. You can measure it using a simple tape measure. Then calculate the width by the length to work out the surface area of the damage.
Tip: Found major areas of damage (.e.g holes)? You can apply a sheet of plywood to the area using suitable screws. Adding further protection against water leaking into the property after applying tarp.
Step four: Choose your tarp and make sure you have at least four feet of excess tarp for use.
A heavy-duty tarp is recommended. Having said that, if the roof cannot take the weight then make sure to choose a suitable alternative. Poly tarpaulin or multi-purpose tarpaulin are good alternatives.
Step five: Open the tarp via the corners
No matter whether the tarp comes folded or as a roll, it is important to open it up via the corners. Once opened, cover the damaged area.
Note: Extra tarp can hang safely from the edge – so no need to cut the tarp unless the cover is extensive.
Step six: Weight down the tarp
Weigh the tarp down and pull it tight for maximum coverage security. If you have applied it during more adverse weather conditions, this can help keep it in place as you prepare to secure it.
Step seven: Fit the tarp to the planks the planks
On the tarp side facing the damaged part of the roof, you will need to attach the 2 x 4 planks to the tarp using screws.
Do not attach it to the roof just yet. It is also not recommended to use drywall screws or non/badly galvanized screws. You can also use nails, but make sure they are galvanized.
Whichever you decide to use, they must be able to pass securely through the tarp and into the plank.
Step eight: Wrap the tarp around the planks.
Once you have attached all edges of the tarp to the 2 x 4 planks, you will need to wrap the tarp around the planks. This will make for an even more secure placement.
Screw the tarp directly into the roof through the 2 x 4 planks already inserted. You will want to place a further 2 x 4 planks on the non-damaged edges of the tarp. This will make sure there is no risk of water leaking through the tarp into the property.
Remember that this is a temporary solution. So, you will need to check for damages inside your home after dealing with the tarp.
Do not walk on the tarp once after securing it. Doing this can not only risk further damage to the roof but also be a slip hazard; especially in wet weather.

Was this guide useful?
Mentioned in this product guide: