
Tiling a roof yourself can seem like a daunting task. This guide carefully explains each step and outlines everything you need to get the job done precisely. When you install roof tiles correctly, they provide a long-lasting and weathertight roof covering to protect your home or building. However, after reading this guide, if you are still not confident in completing any of these steps yourself, we strongly recommend getting a professional to do it for you. Tiling a roof really isn’t something you want to get wrong and damage your roof!
Here at Roofing Superstore, we have a wide range of roof tiles and slates available to kick-start your project. But how do you tile a roof in order to ensure maximum durability and an attractive finish? Read on to find out everything you need to tile a roof.
Table of contents:
- Choosing the roof tile material
- Calculate the number of roof tiles required
- Ensure you have everything you need
- Prepare the roof
- Install the underlay
- Fit the timber battens
- Tile the roof
- Final thoughts
Choosing the roof tile material
Before you start tiling, it is important to identify which type of roof tile you’re going to be using.
Clay roof tiles
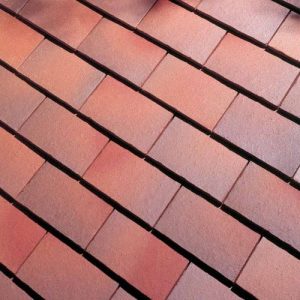
Clay roof tiles are incredibly popular and have been used for hundreds of years. Not only do they allow you to create a traditional and timeless roof, they are one of the longest-lasting roofing materials available. Additionally, clay tiles are relatively consistent in colour and size, meaning the appearance of the overall roof is consistent and clean.
Slate roof tiles
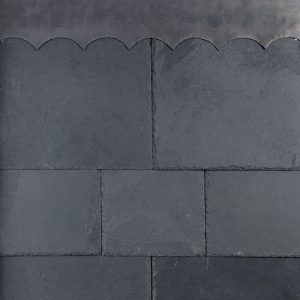
Slate roof tiles are another popular roofing material. They are popular due to their naturally stunning appearance, which creates a crisp and clean finish, as well as having natural variations in colour running through. Slate roofs often have a lifespan of 100 years or more, making them incredibly long-lasting and great for traditional buildings.
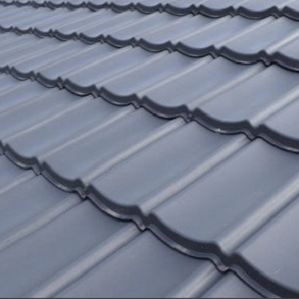
Concrete roof tiles
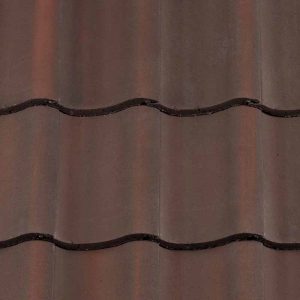
Concrete roof tiles have increased in popularity as techniques have developed to provide an incredibly wide range of colours, sizes and styles of roof tile. Projects where environmental credentials are considered will often include concrete tiles.
Plastic roof tiles
 There are also a number of plastic roof tiles that have been manufactured from recycled plastic to create lightweight and environmentally friendly alternatives. Plastic roof tiles come in a number of different styles, colours and sizes, so it is possible to emulate the look of a more traditional roof, but with more environmentally friendly credentials.

Calculate the number of roof tiles required
Calculate roof area
Once you’ve chosen the roof tiles you want to install on your roof, you need to calculate how many roof tiles you’ll need. To do so, you’ll need to know the size of one roof tile and the size of the roof area. For more information on how to calculate the roof area, head over to our ‘How do you calculate the roof area for a project?’ guide
Calculate the number of tiles required
Once you’ve worked out the roof area, you can divide it by the size of a roof tile. Alternatively, take a look at the manufacturer’s guidelines – the manufacturer generally provides a figure detailing how many tiles are required per metre squared for a roof. Check out our guide for more details on calculating how many roof tiles you need.
Ensure you have everything you need
After you’ve calculated the number of tiles you need and have all other necessary tools and equipment, you can begin tiling! Don’t forget, as well as regular tools and accessories such as a ladder and a hammer, you’ll also need the roof tiles (including ridge and hip tiles where necessary), roofing nails, timber battens, underlay and sealant.

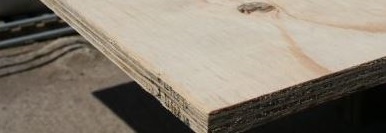
Prepare the roof
If working on a pre-existing roof, the first step is to remove any existing roofing materials. Additionally, take a look at the sheathing – if any of it is damaged, replace or repair it. It is important to have secure sheathing as this will be supporting the roof tiles.
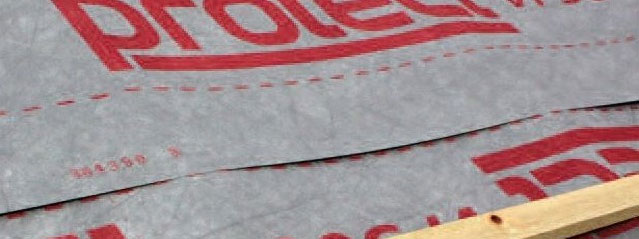
Install the underlay
After you’ve checked and replaced the sheathing where required, you can fit the underlay. Roll this out parallel from the bottom eaves, working up to the top of the roofline in sheets, overlapping the top of the roof before securing on the other side. Ensure there is an overlap between each roll of underlay in order to create a seal and nail the underlay to the sheathing, ensuring the nails are spaced at around 50cm apart.
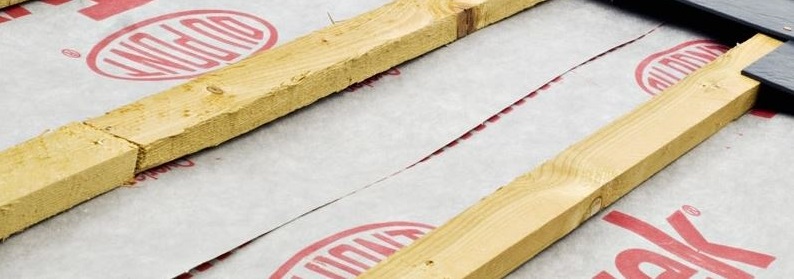
Fit the timber battens
Once you’ve installed the underlay, it’s time to fit the timber battens. This is necessary to provide a stable surface on which to attach the roof tiles. You can calculate the space between timber battens using the tiles – Tiles should always have a minimum of 3 inches of overlap, apart from at the eaves where the eaves tile should reach the centre of the gutter.
With this in mind, place a tile on a timber batten, and another tile on a timber batten below. Move the battens together or apart until an overlap of 3 inches occurs between the two tiles. Next, measure the distance between the two battens – this is the distance that should be between each timber batten. Start with a batten at the bottom of the roof, and ensure a tile will extend to the centre of the gutter, and then work your way upwards, installing battens with the calculated distance between them.
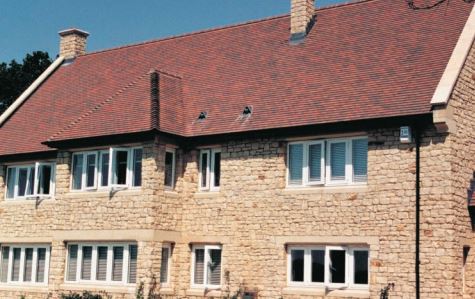
Tile the roof
Now you can install the roof tiles. When doing this, make sure you spread them evenly across the whole roof to distribute the weight properly. You should generally work from right to left, and if there are any obstacles such as chimneys, work around them before coming back to them later. When starting at the eaves, the tiles should extend so that they reach the centre line of the gutter.
Cut tiles where required
In some circumstances, you will need to cut tiles in order for them to complete a row. If this is the case, you should never cut a tile that is smaller than half the width of a regular tile, and should never cut the tile on the bottom edge.
Install ridge tiles
Once you’ve installed the regular tiles, you can fit the ridge tiles at the top of the roof. You can overlap or install these end to end, depending on the type of ridge tile you have.
Final thoughts
Have you got any questions about how to tile a roof? Or are looking for advice regarding the best roofing products for your latest project? Don’t hesitate to get in touch – call our team on 01752 692 760 and we will be more than happy to help with product recommendations and advice.


